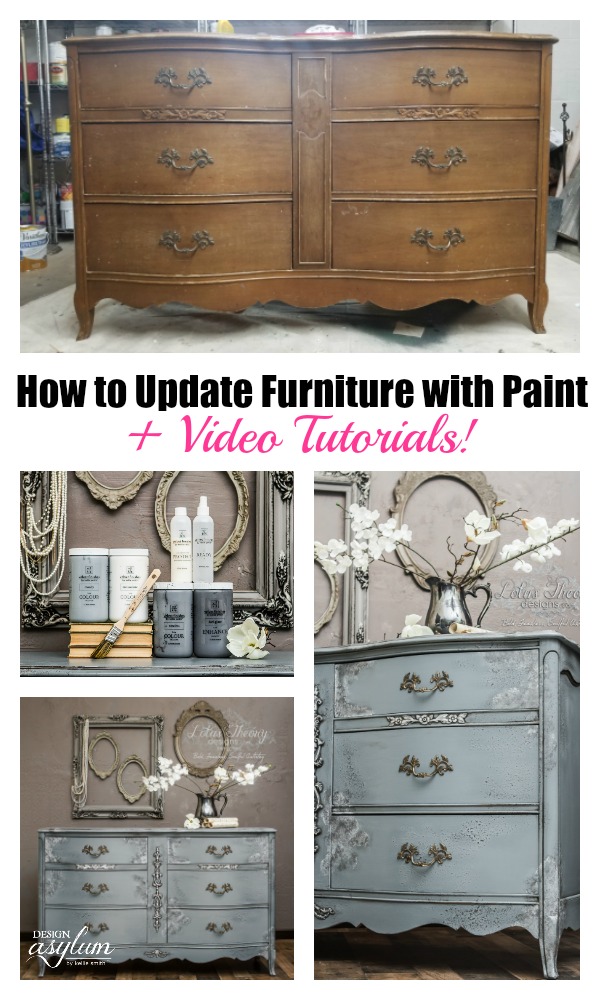
How to Update Furniture with Paint
September 16, 2018 • By Kellie SmithBianca from Lotus Theory Designs is back, baby! You remember her from these Velvet Finishes posts, right?
Today, she is going to teach us how to update furniture with paint!
We all have old, perhaps outdated furniture pieces that are screaming for a makeover.
Refinishing thrift store, roadkill rescues, garage sale finds, etc. is a rewarding task.
Whether you’re a beginner or an old pro – DIY furniture makeovers are something that anyone can do.
Well, as long as you have my secret weapon in your arsenal…
VELVET FINISHES FURNITURE PAINT
Bianca is going to take over now and show you just how powerful furniture paint is…
Hi paint lovers, I’m Bianca!

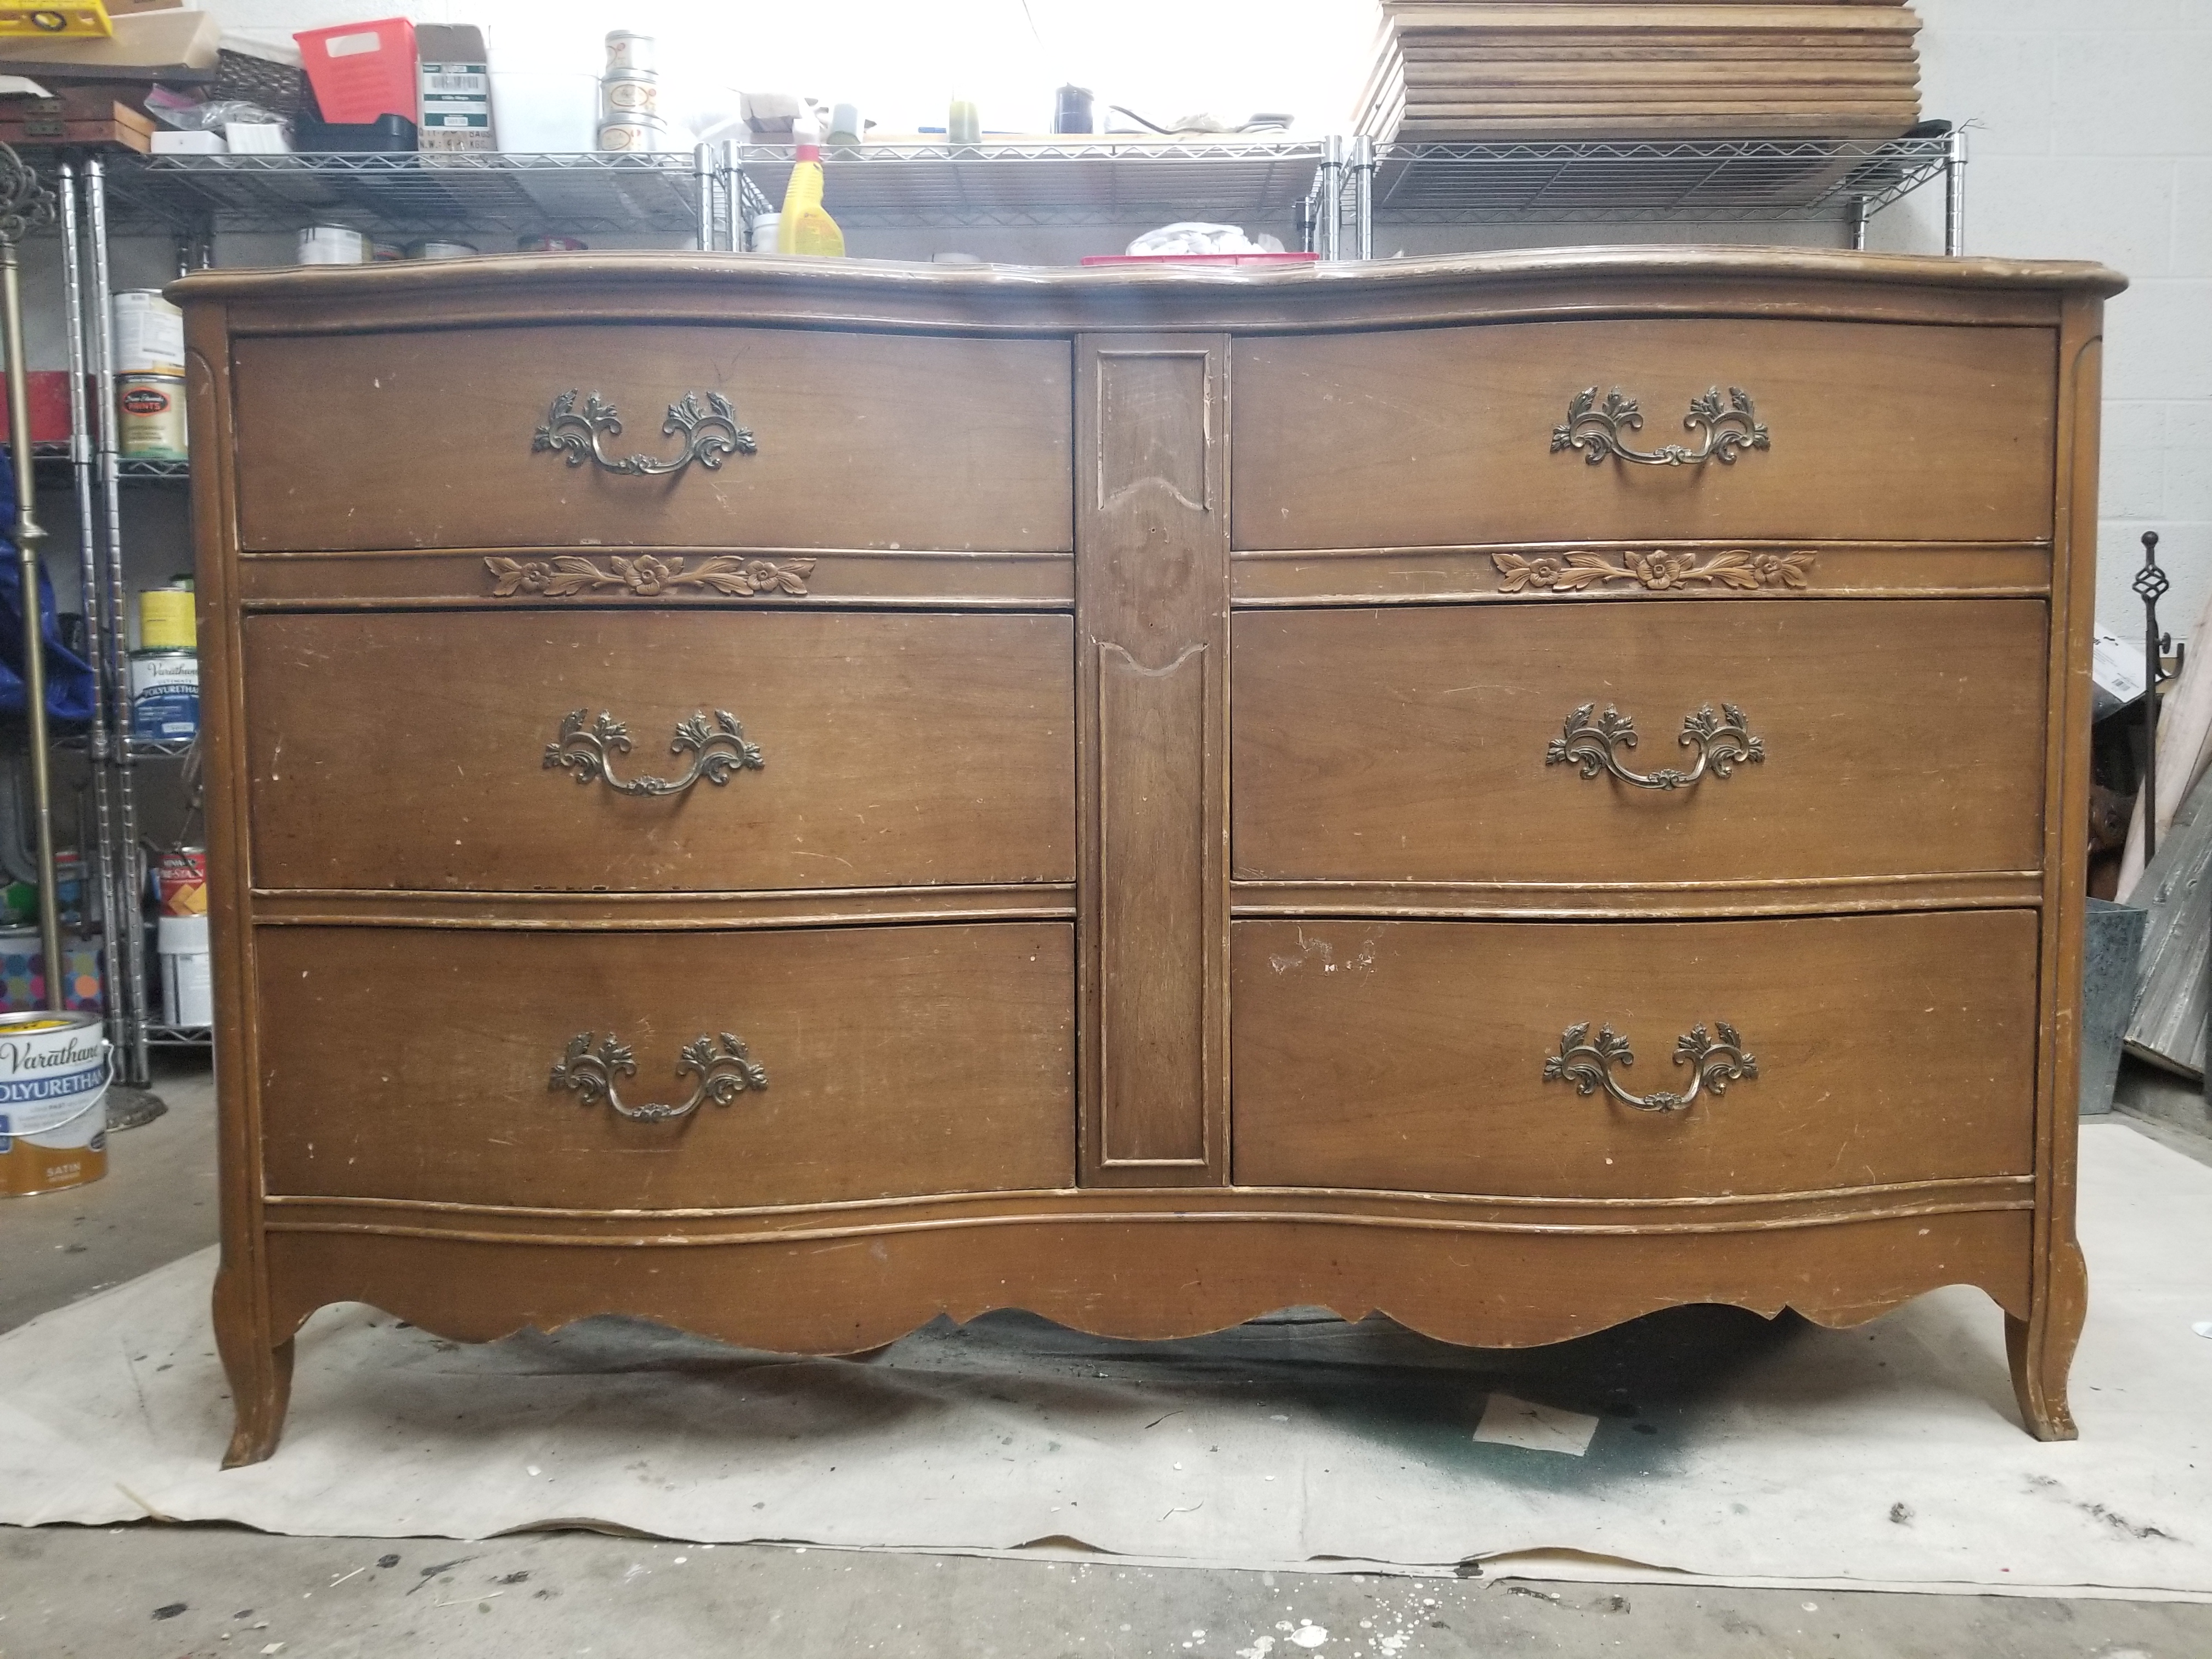
In today’s episode of “How the heck did she do that?!”, I am going to teach you how this classic Bassett French Provincial chest of drawers went from this….
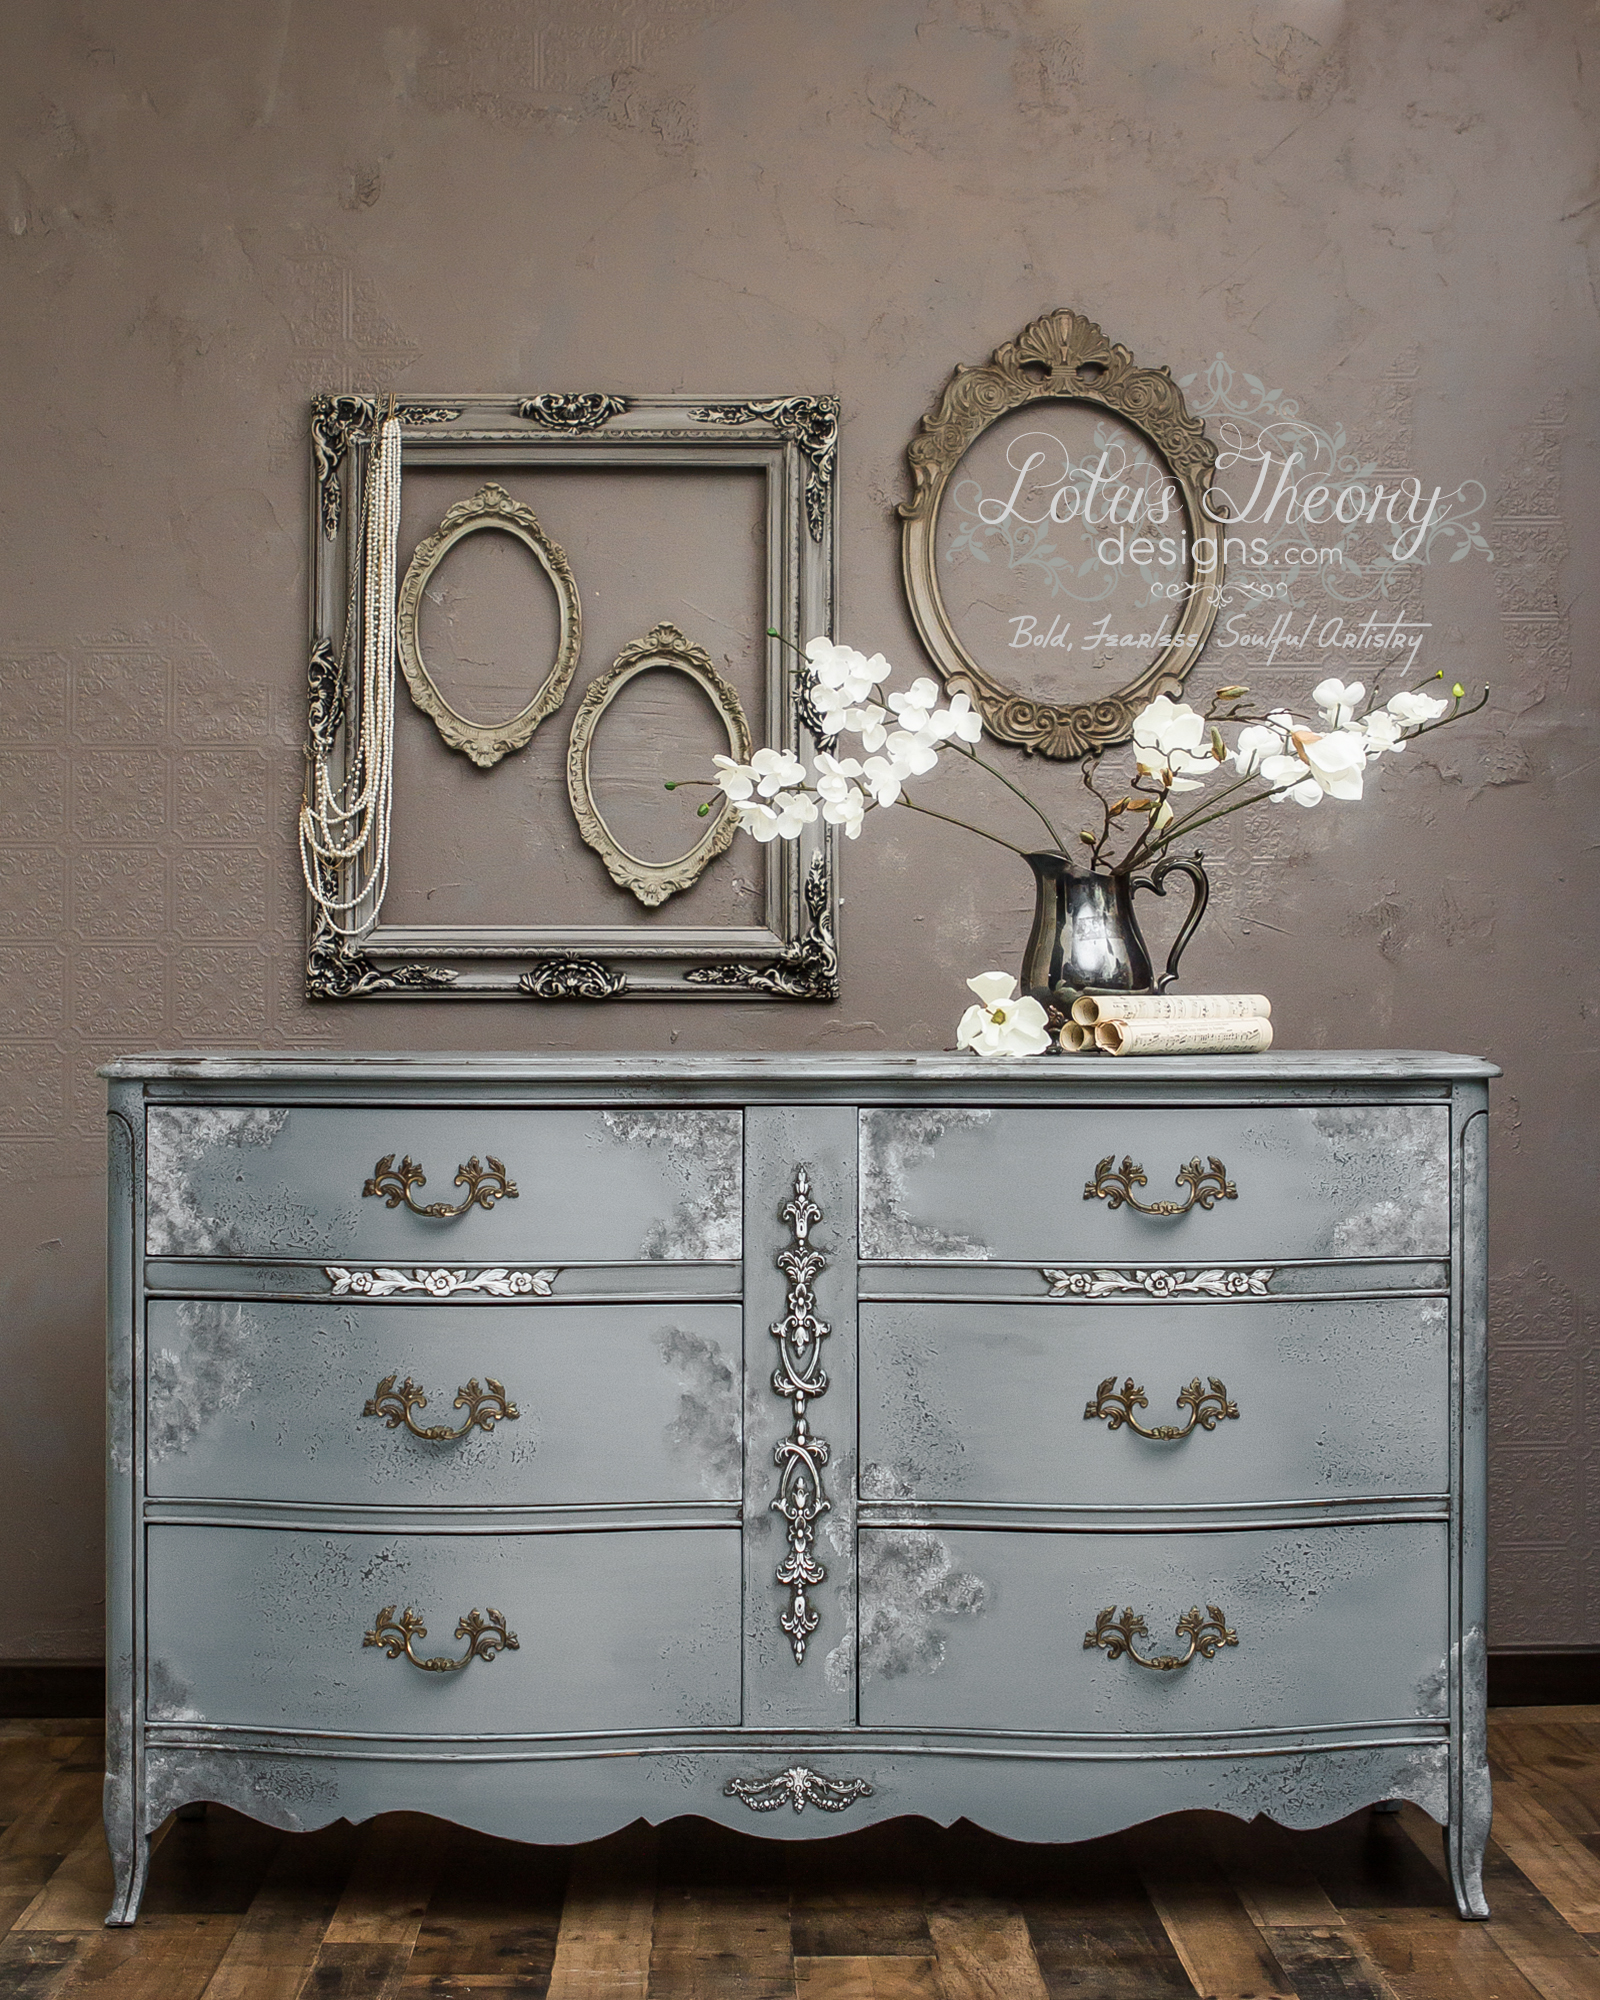
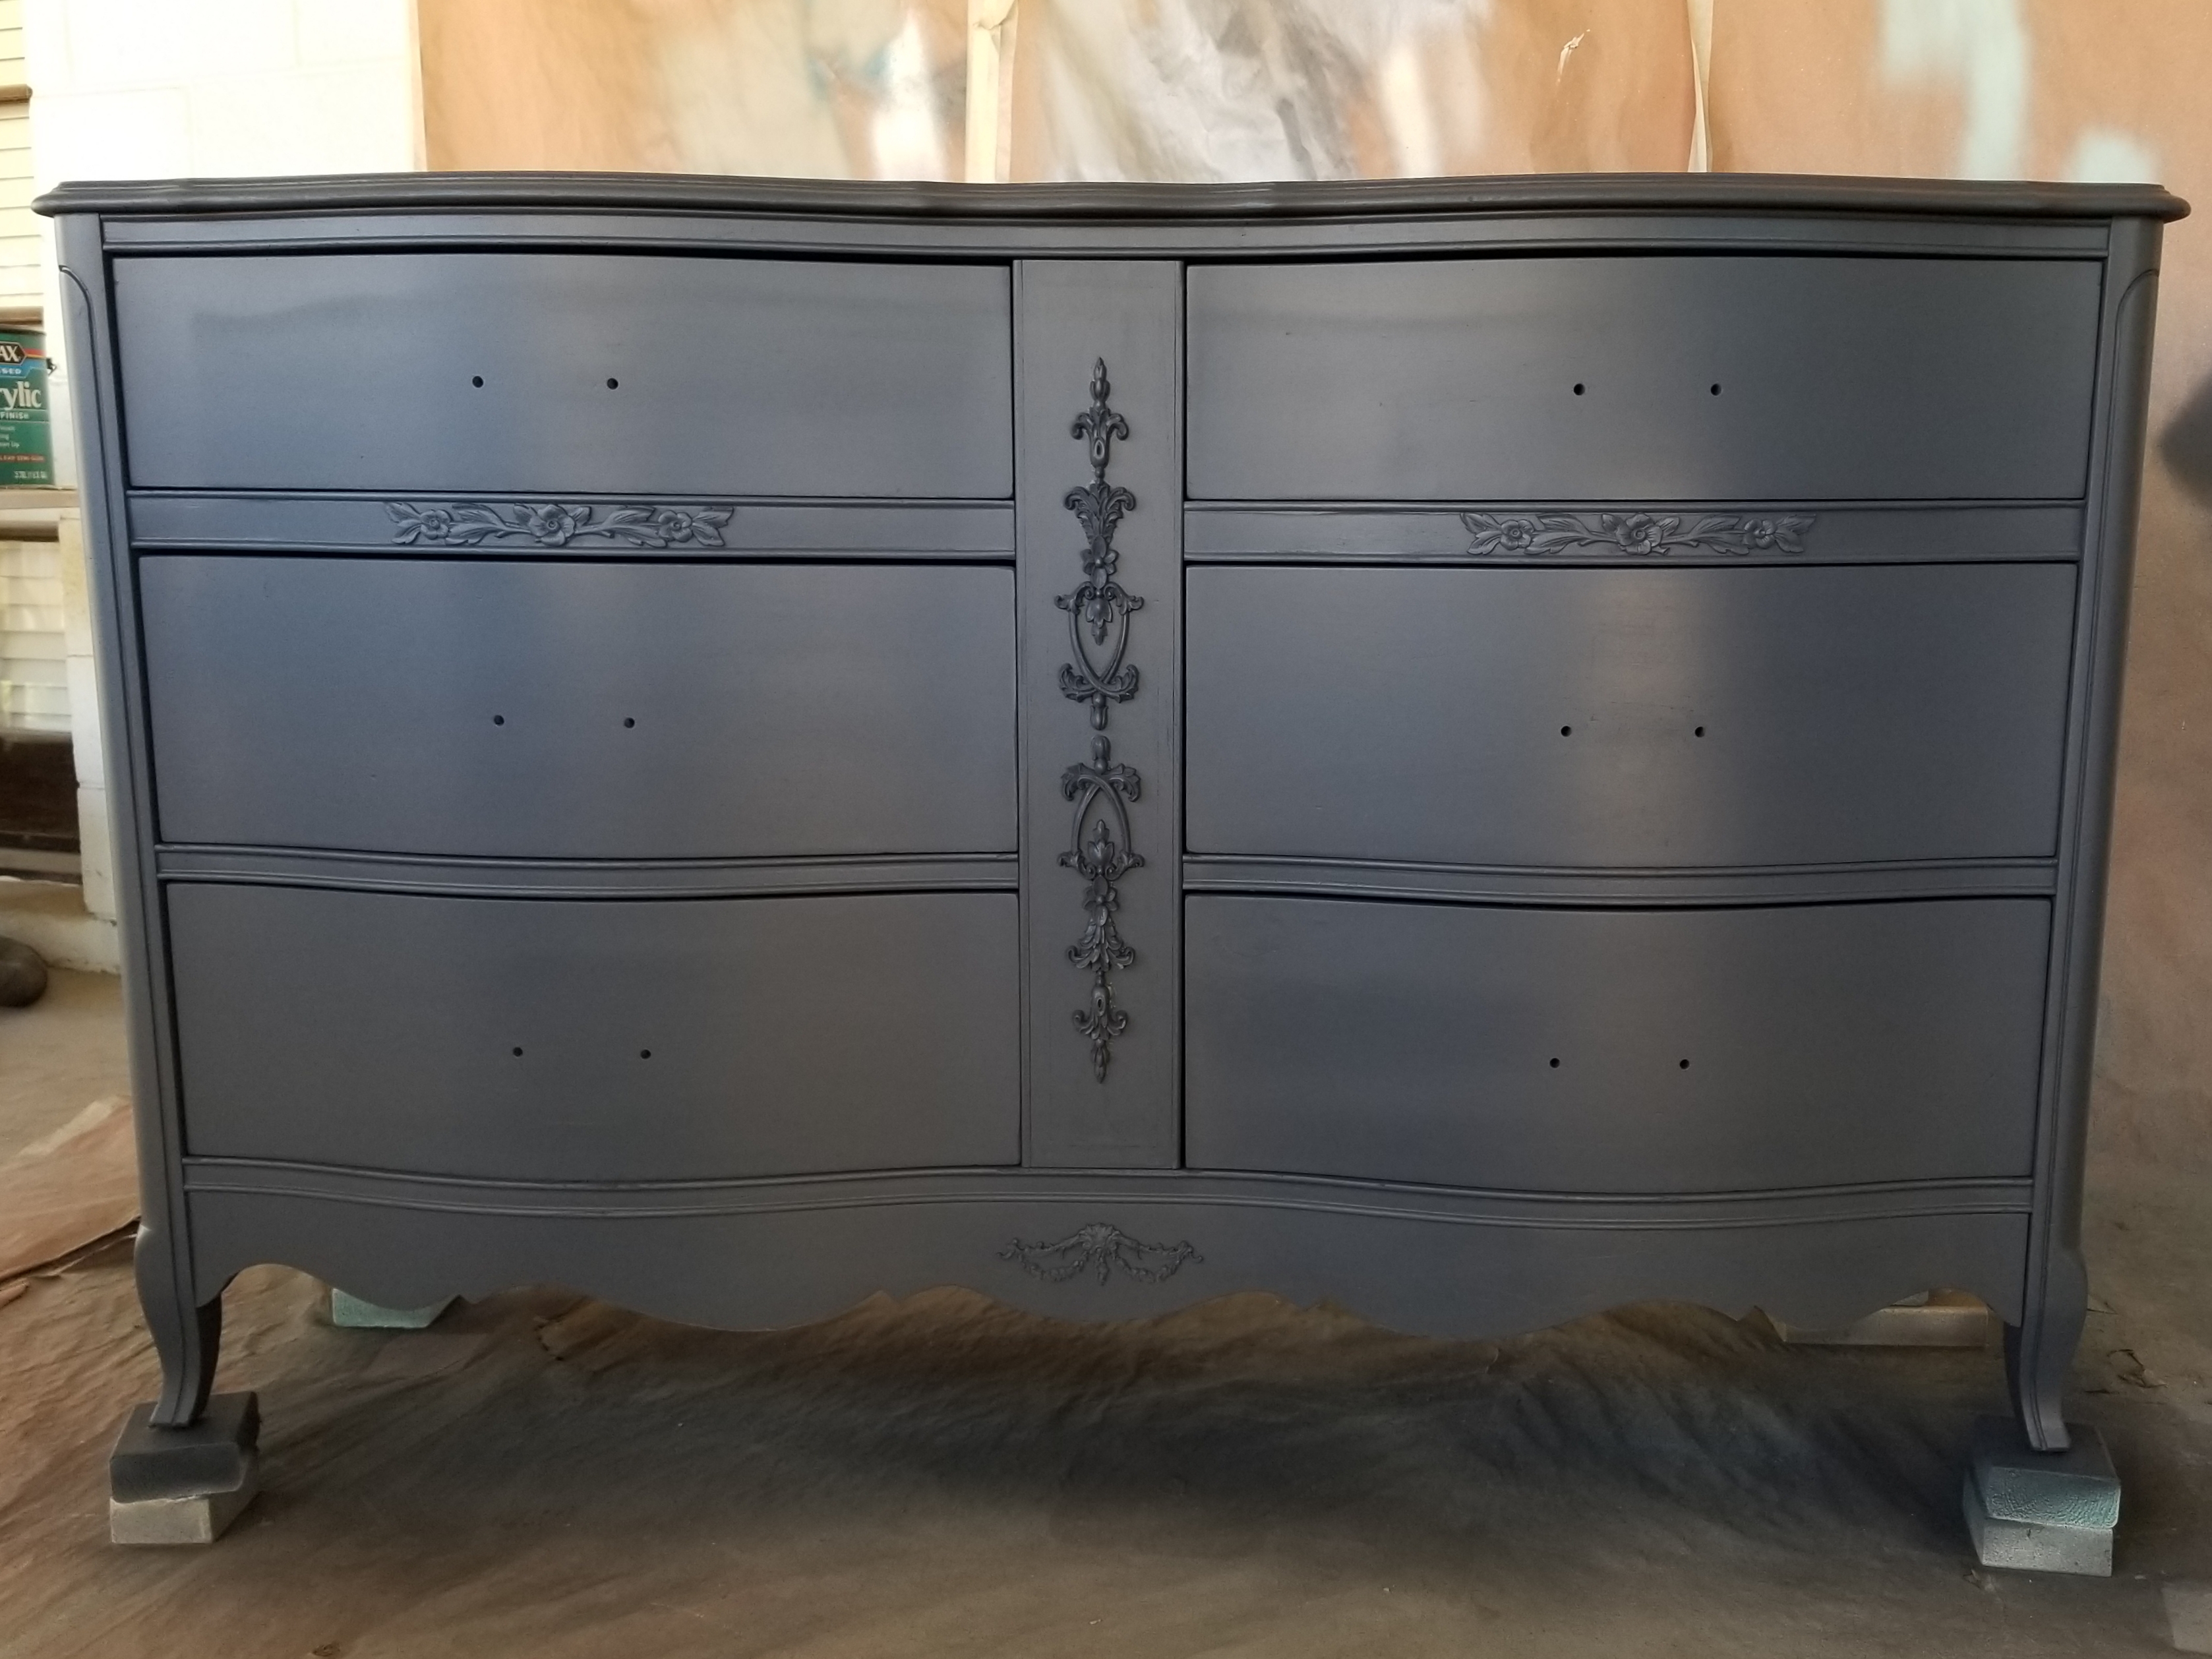
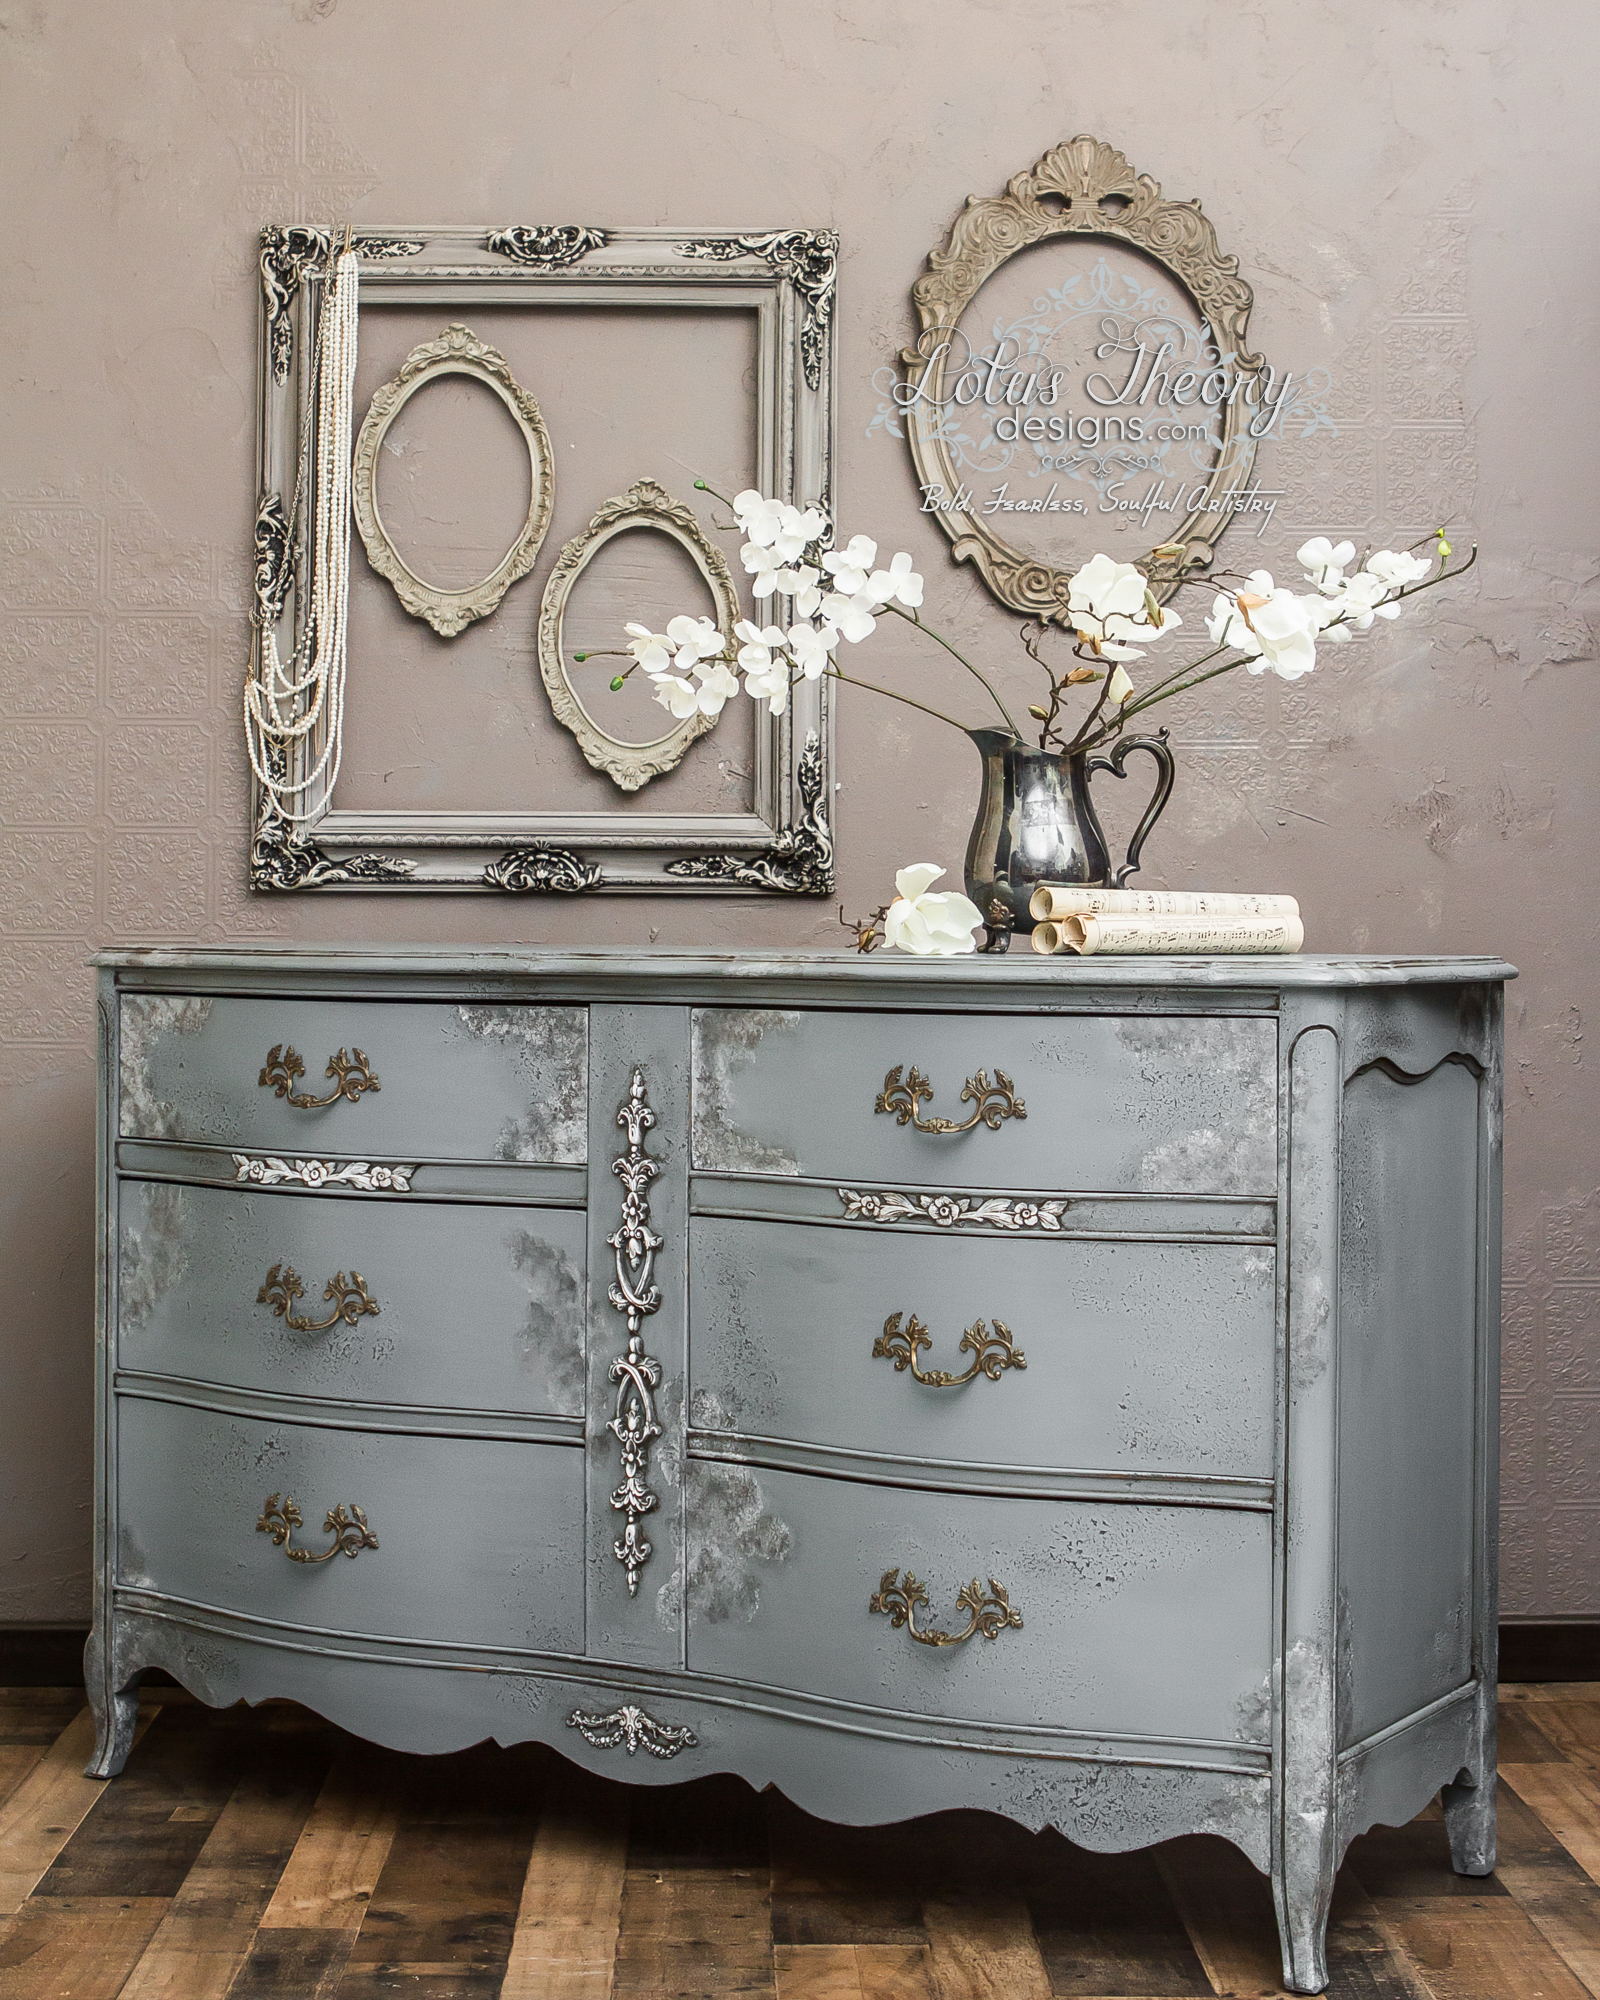
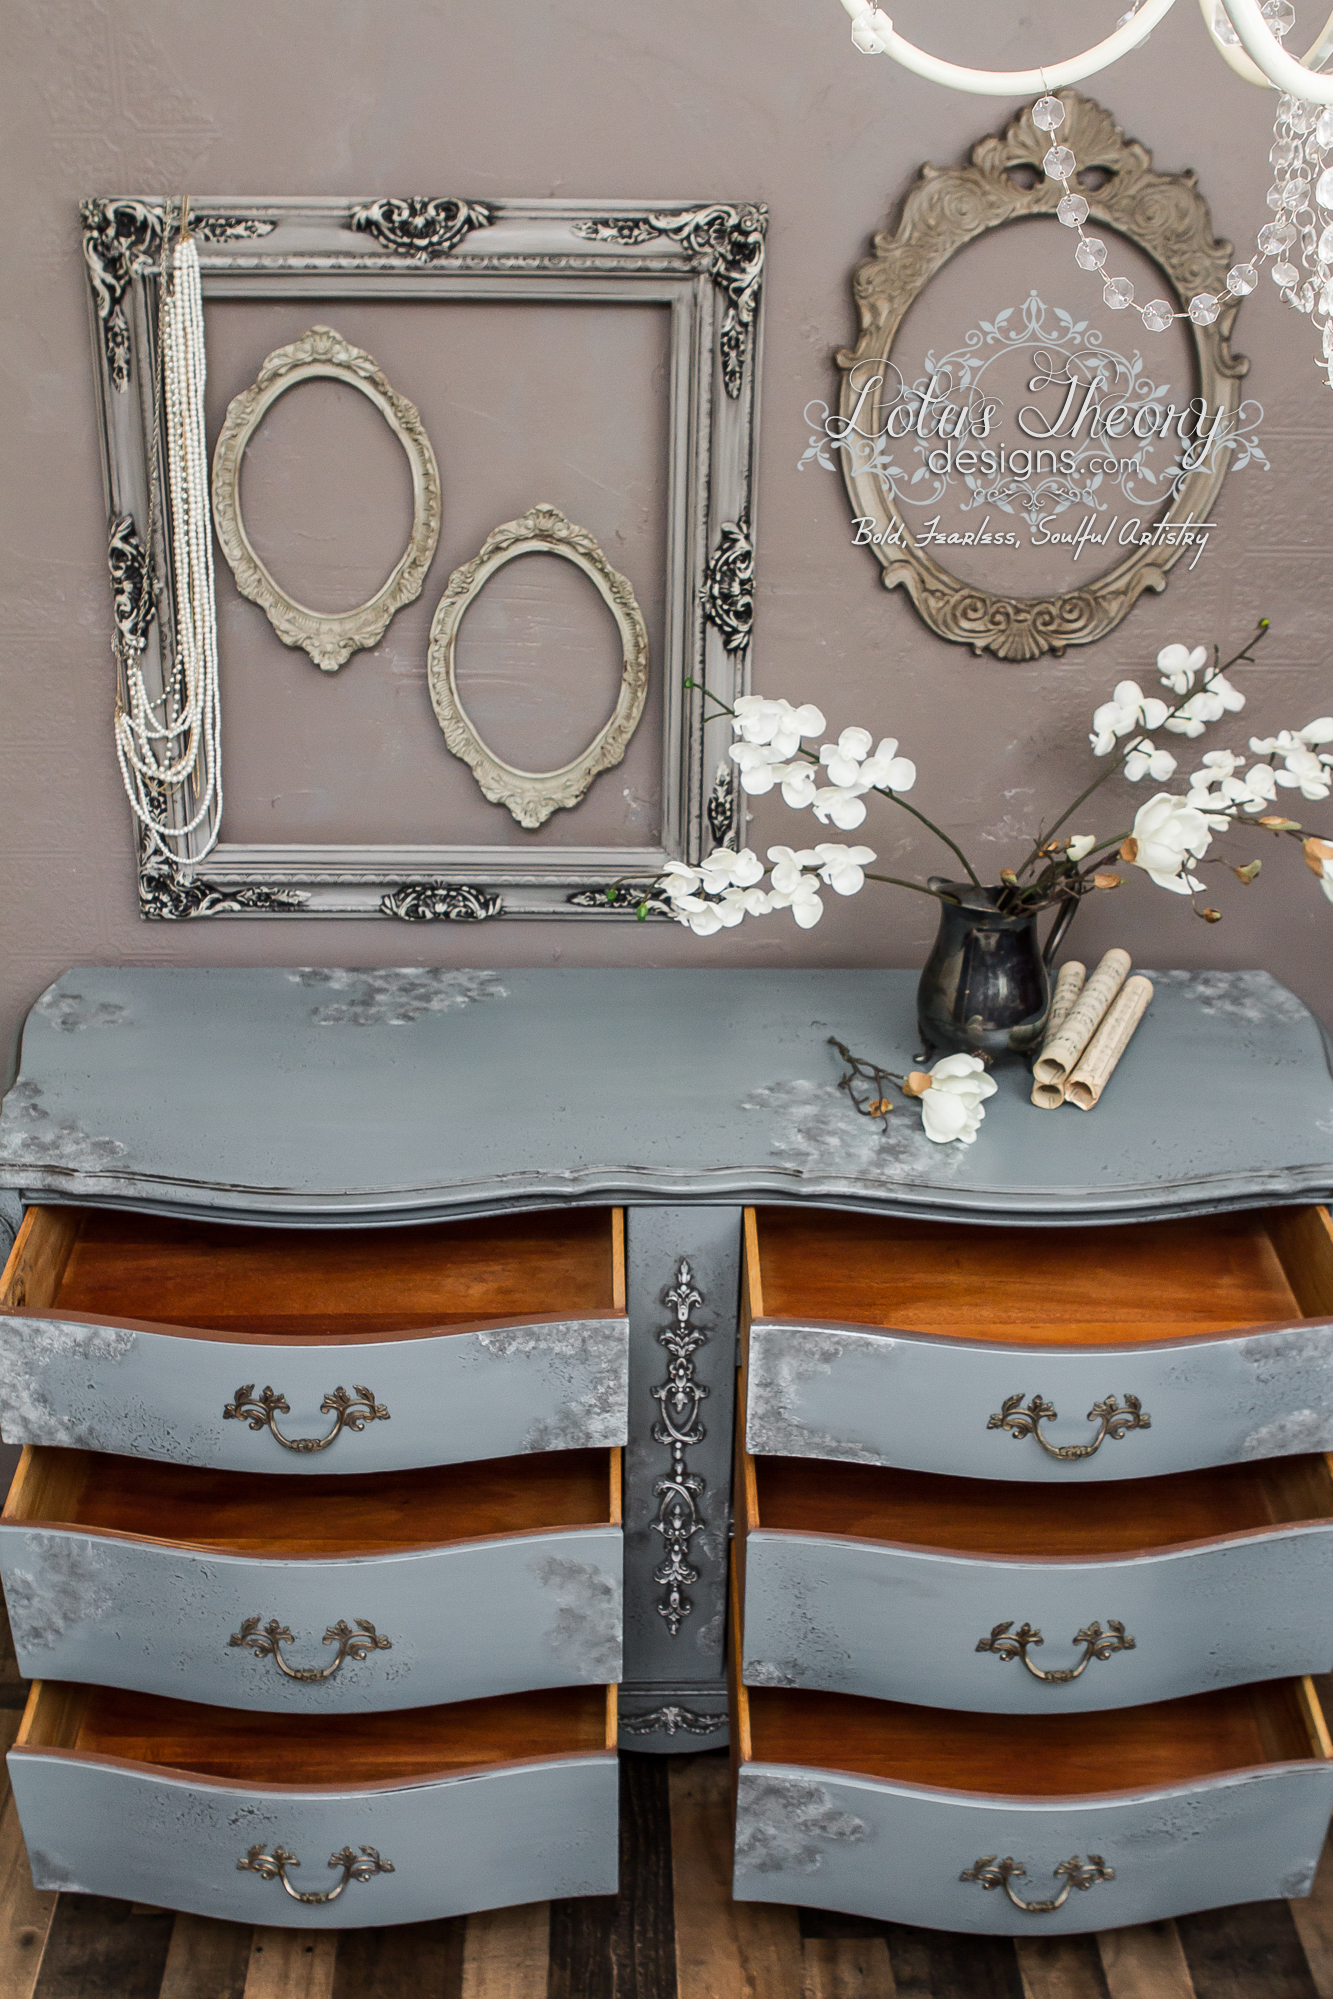
To this…
So how did I achieve this? Keep reading to see how to update furniture with paint…
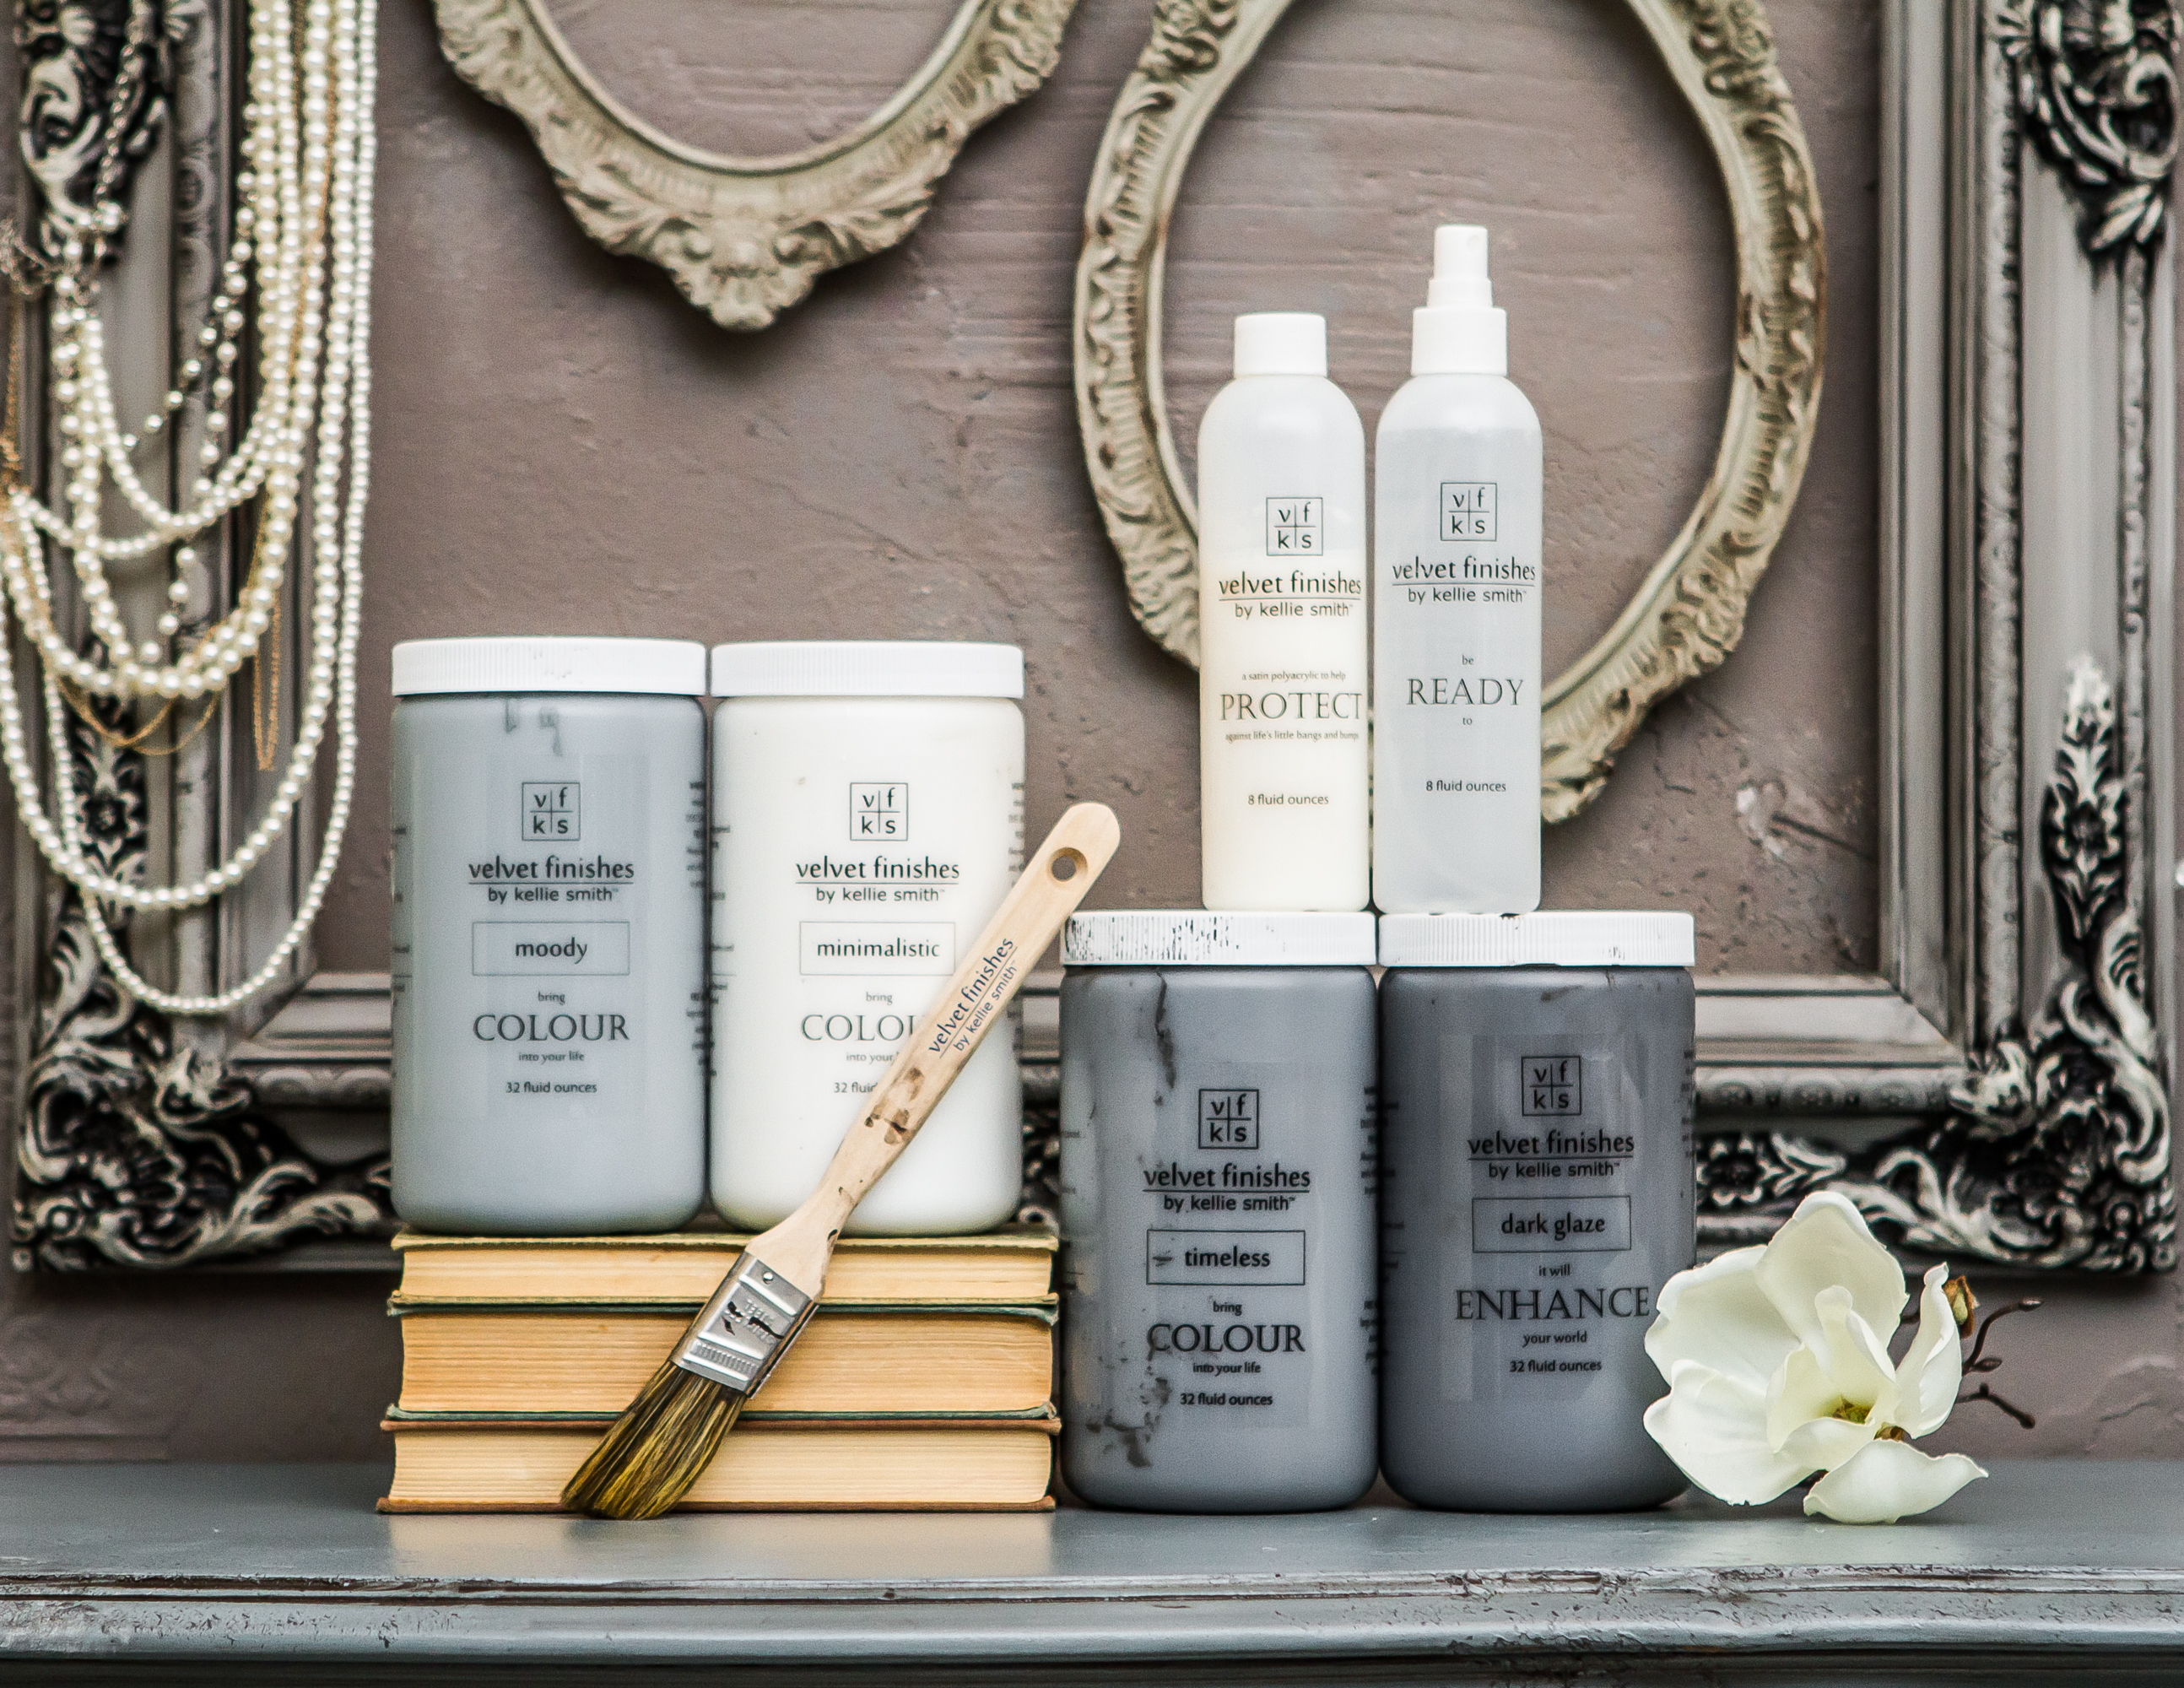
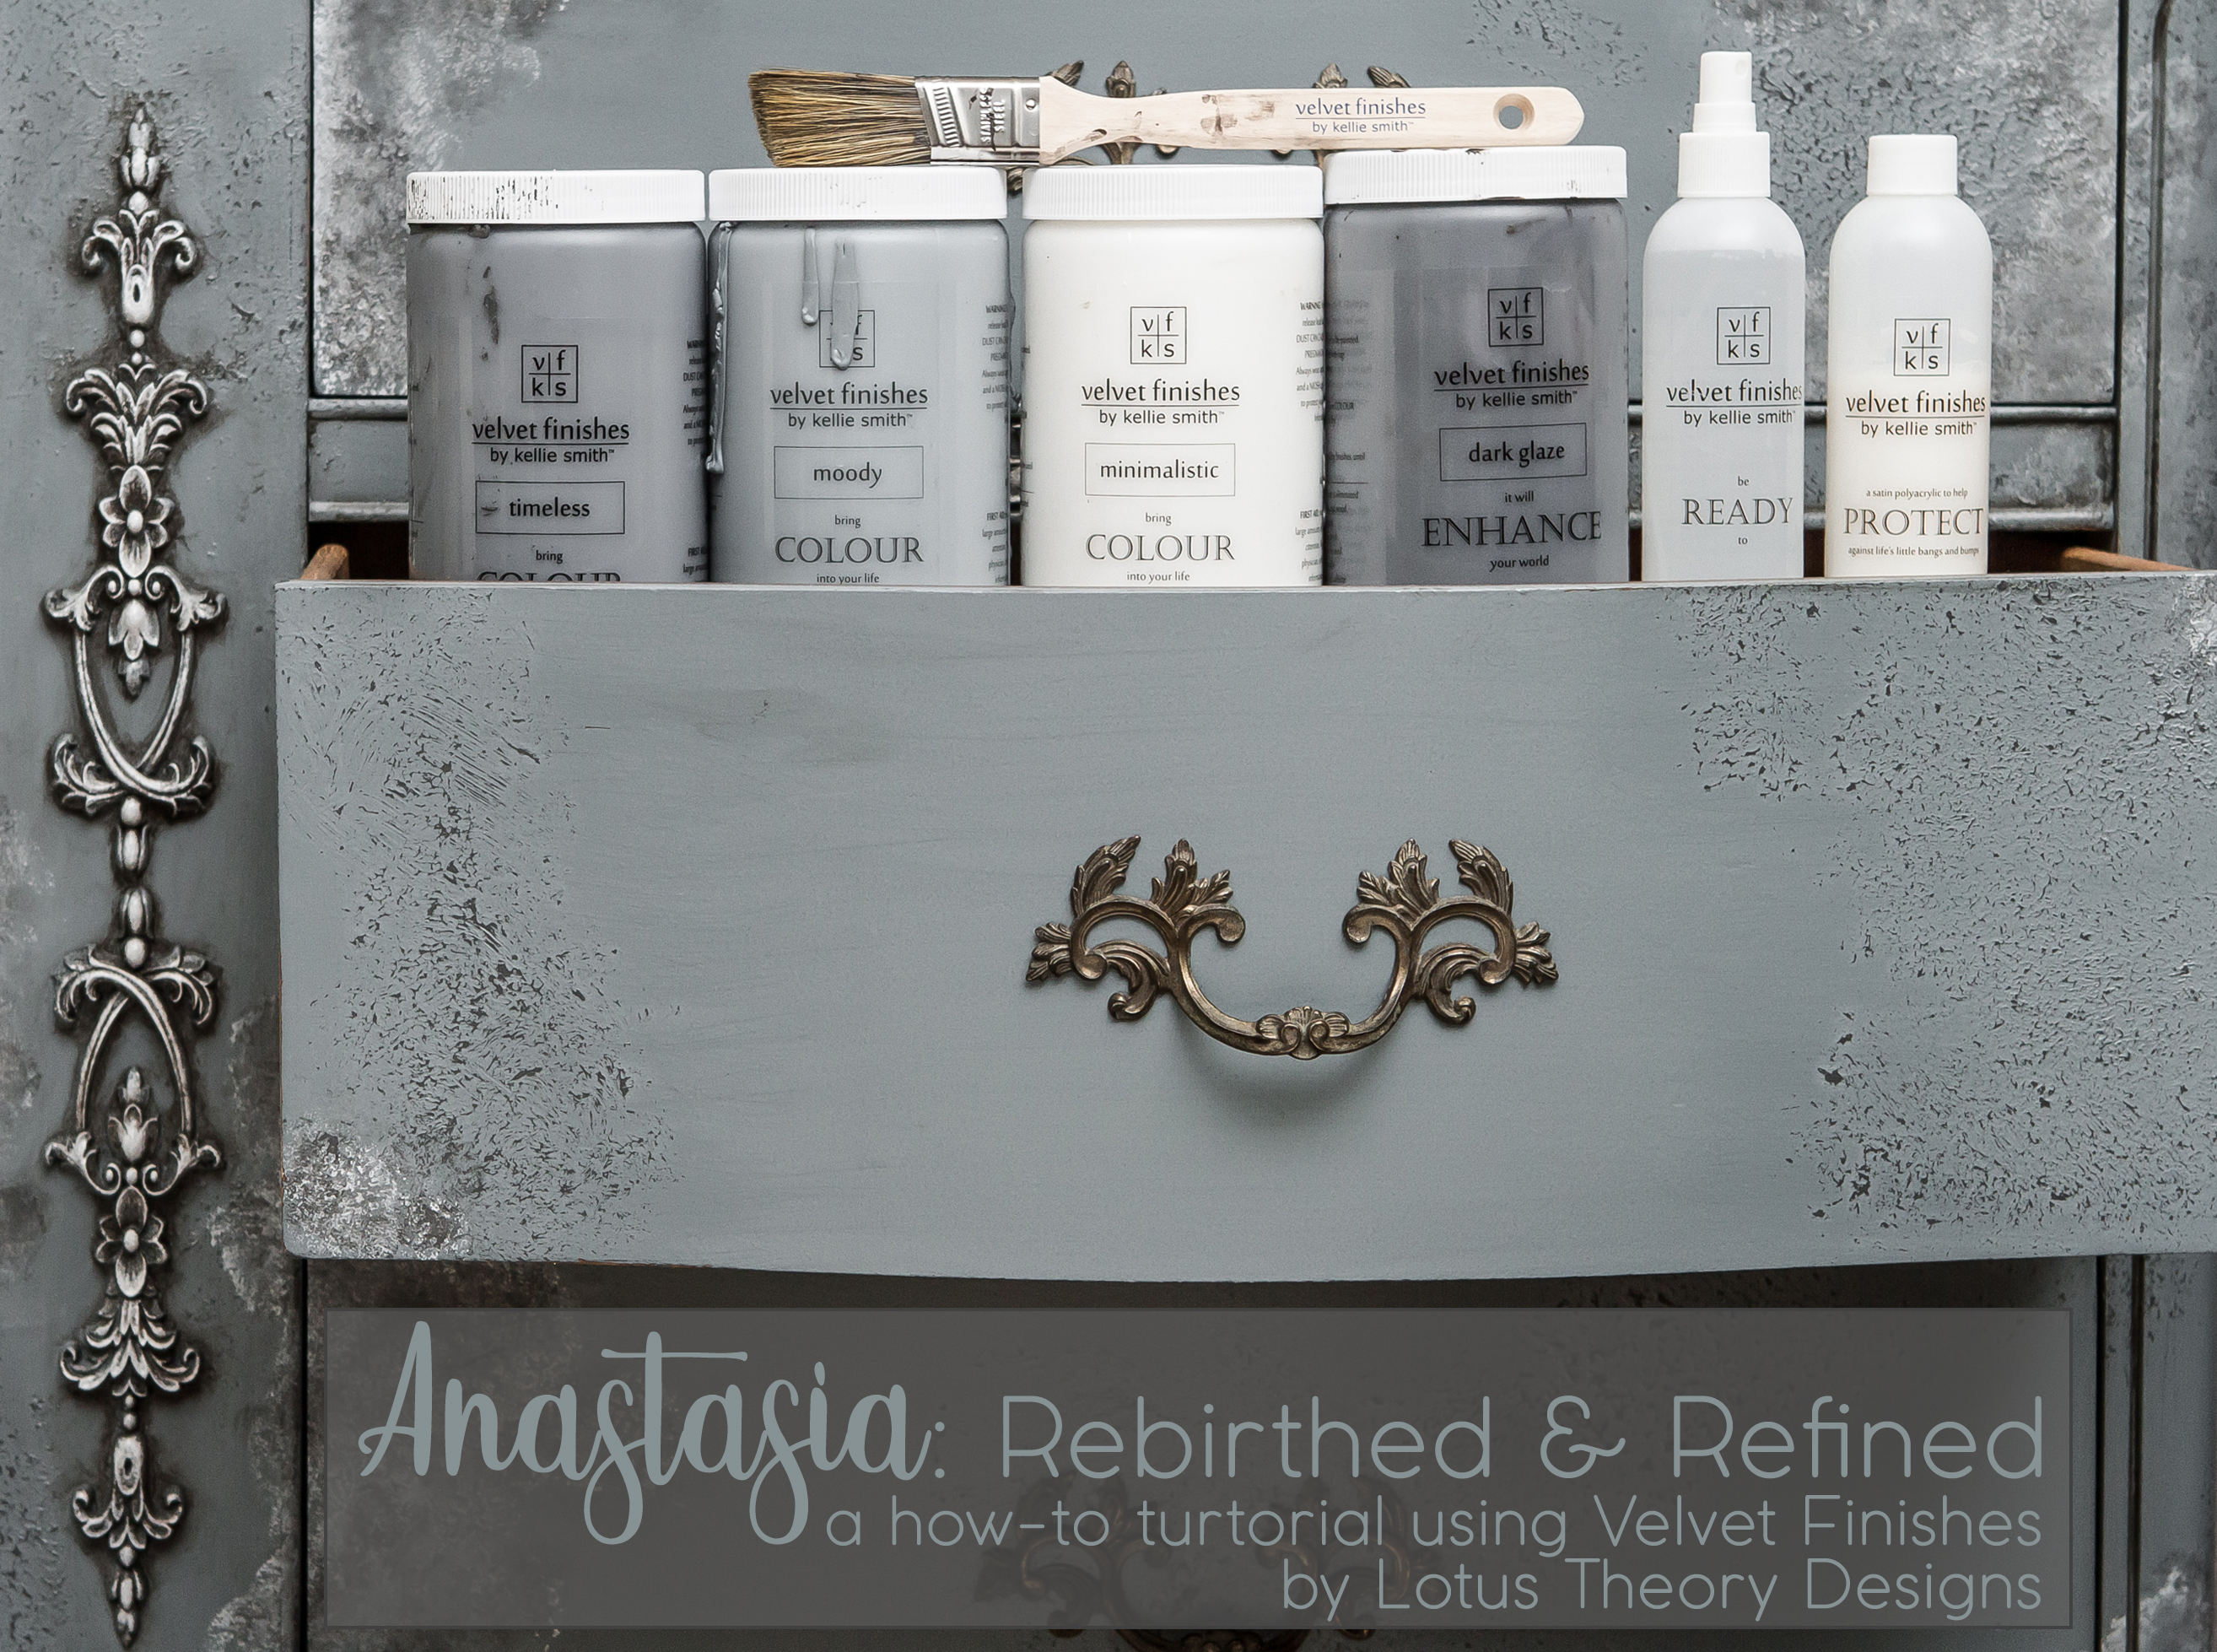
Velvet Finishes Materials List
• Ready
• Colours: Moody, Minimalistic, Timeless
• Protect
I have said it before. I will say it again. Prep! It is the most important step of refinishing any piece of furniture. Proper prep will give you a clean, consistent, quality finished product that will last for years to come.
I started by cleaning the piece using Velvet Finishes Ready. This wonderful product lifts all that dirt and grime that has been building up for years in one simple step. Simply spray, let sit for a few minutes, and wipe clean. It also deglosses, giving your piece teeth for your paint product to grasp onto.
Once I cleaned my piece, I sanded it through and through. As fantastic as the bones of this piece were, she wore her heart on her sleeve. She was pretty scuffed up and required some heavy sanding to bring her back to some semblance of her original form. In many areas, I had to sand down to the raw wood.
I filled the deep abrasions and missing trim and veneer chunks using Bondo, as wood filler just wasn’t going to cut it for this job. Once these steps were complete, the real fun of creating Anastasia would commence.
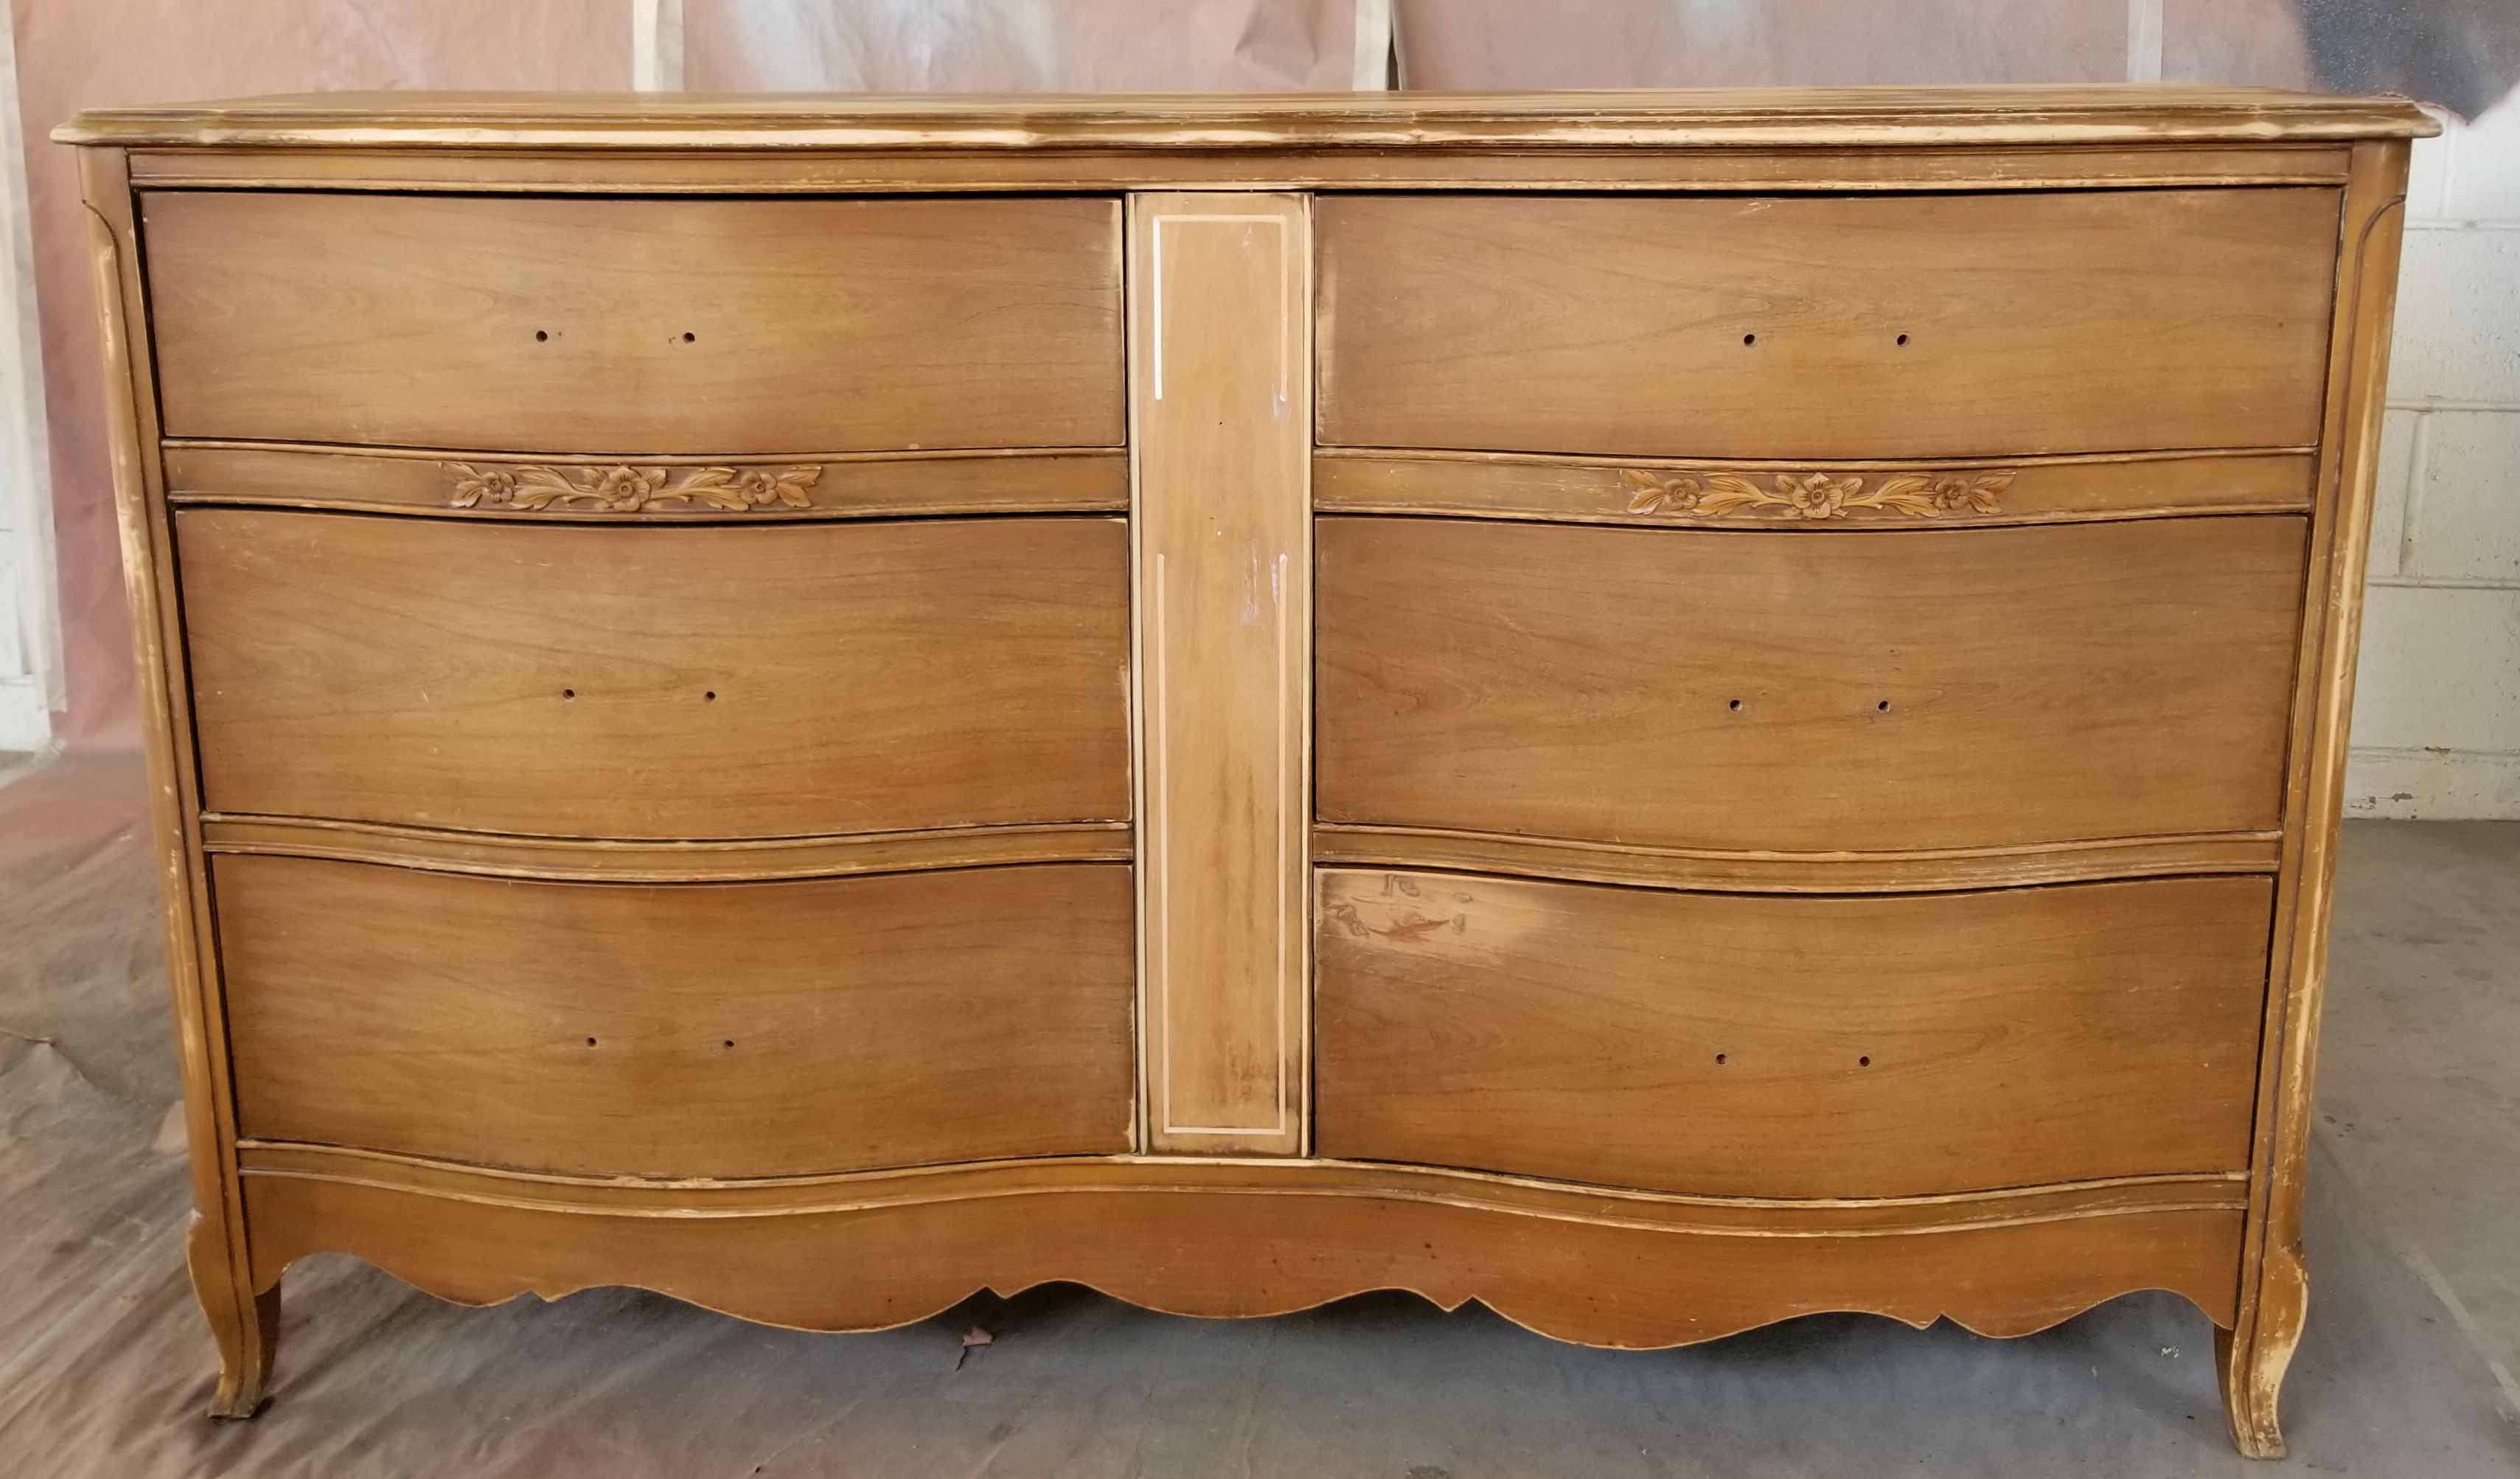
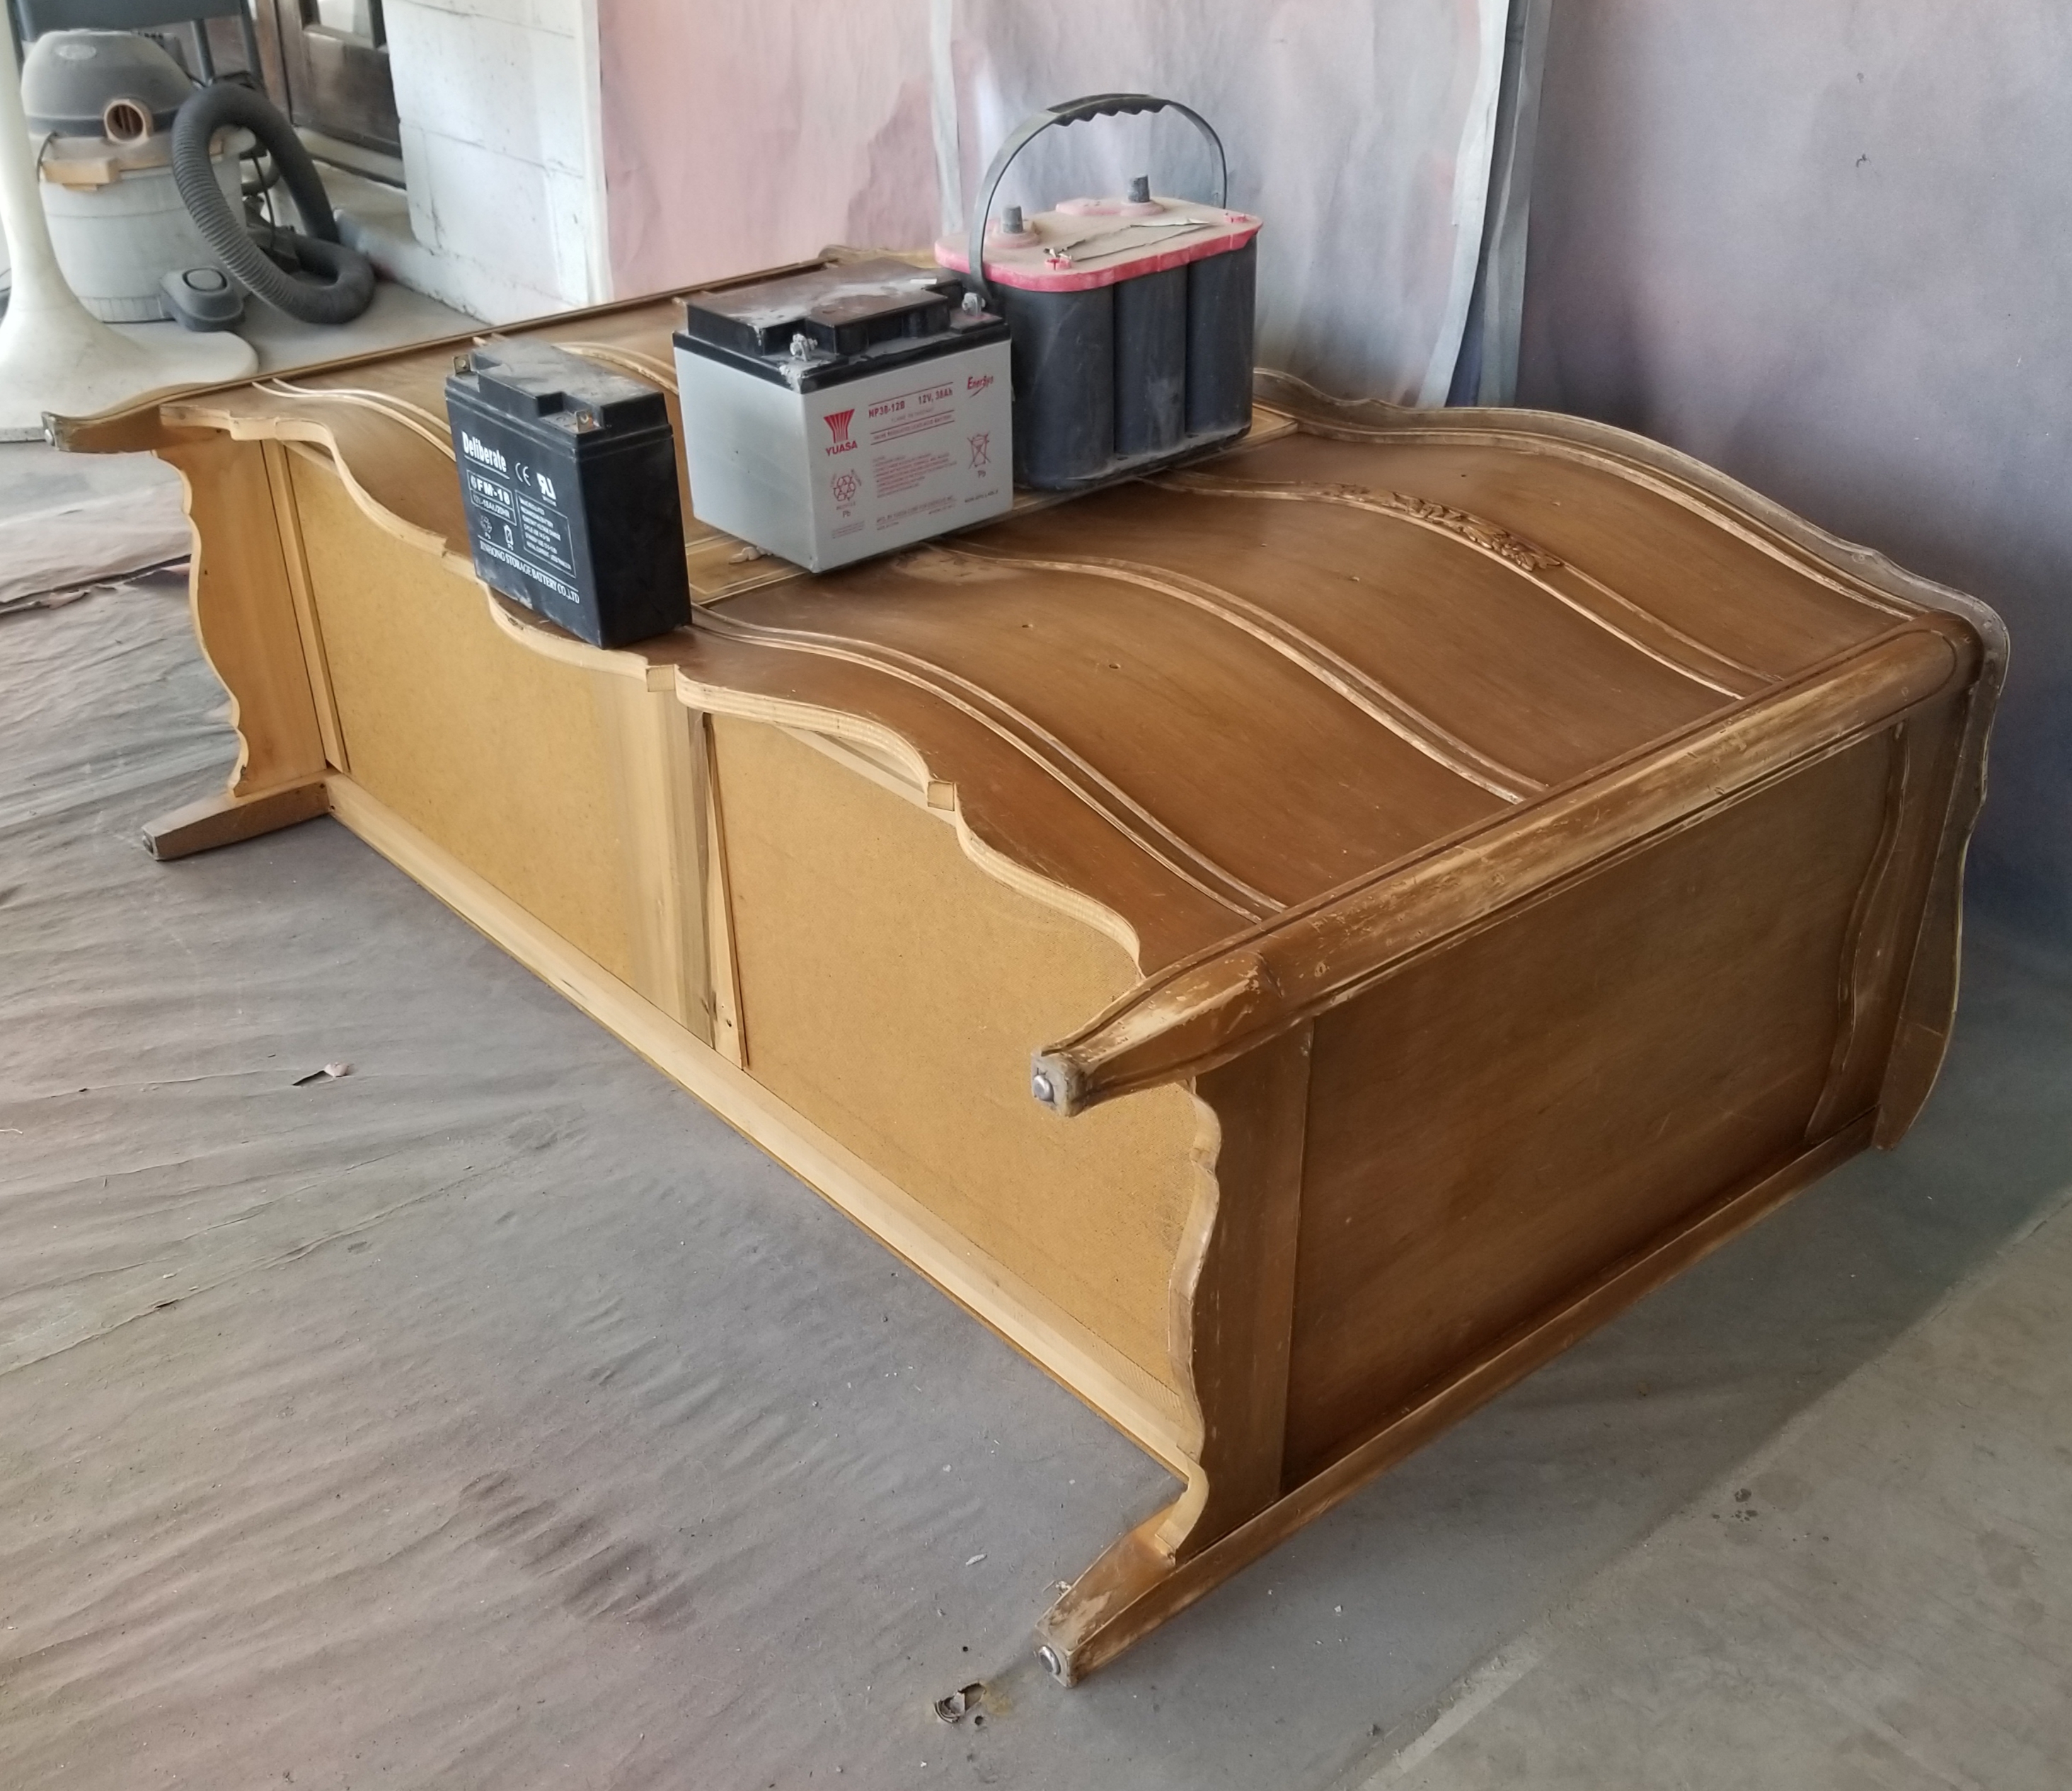
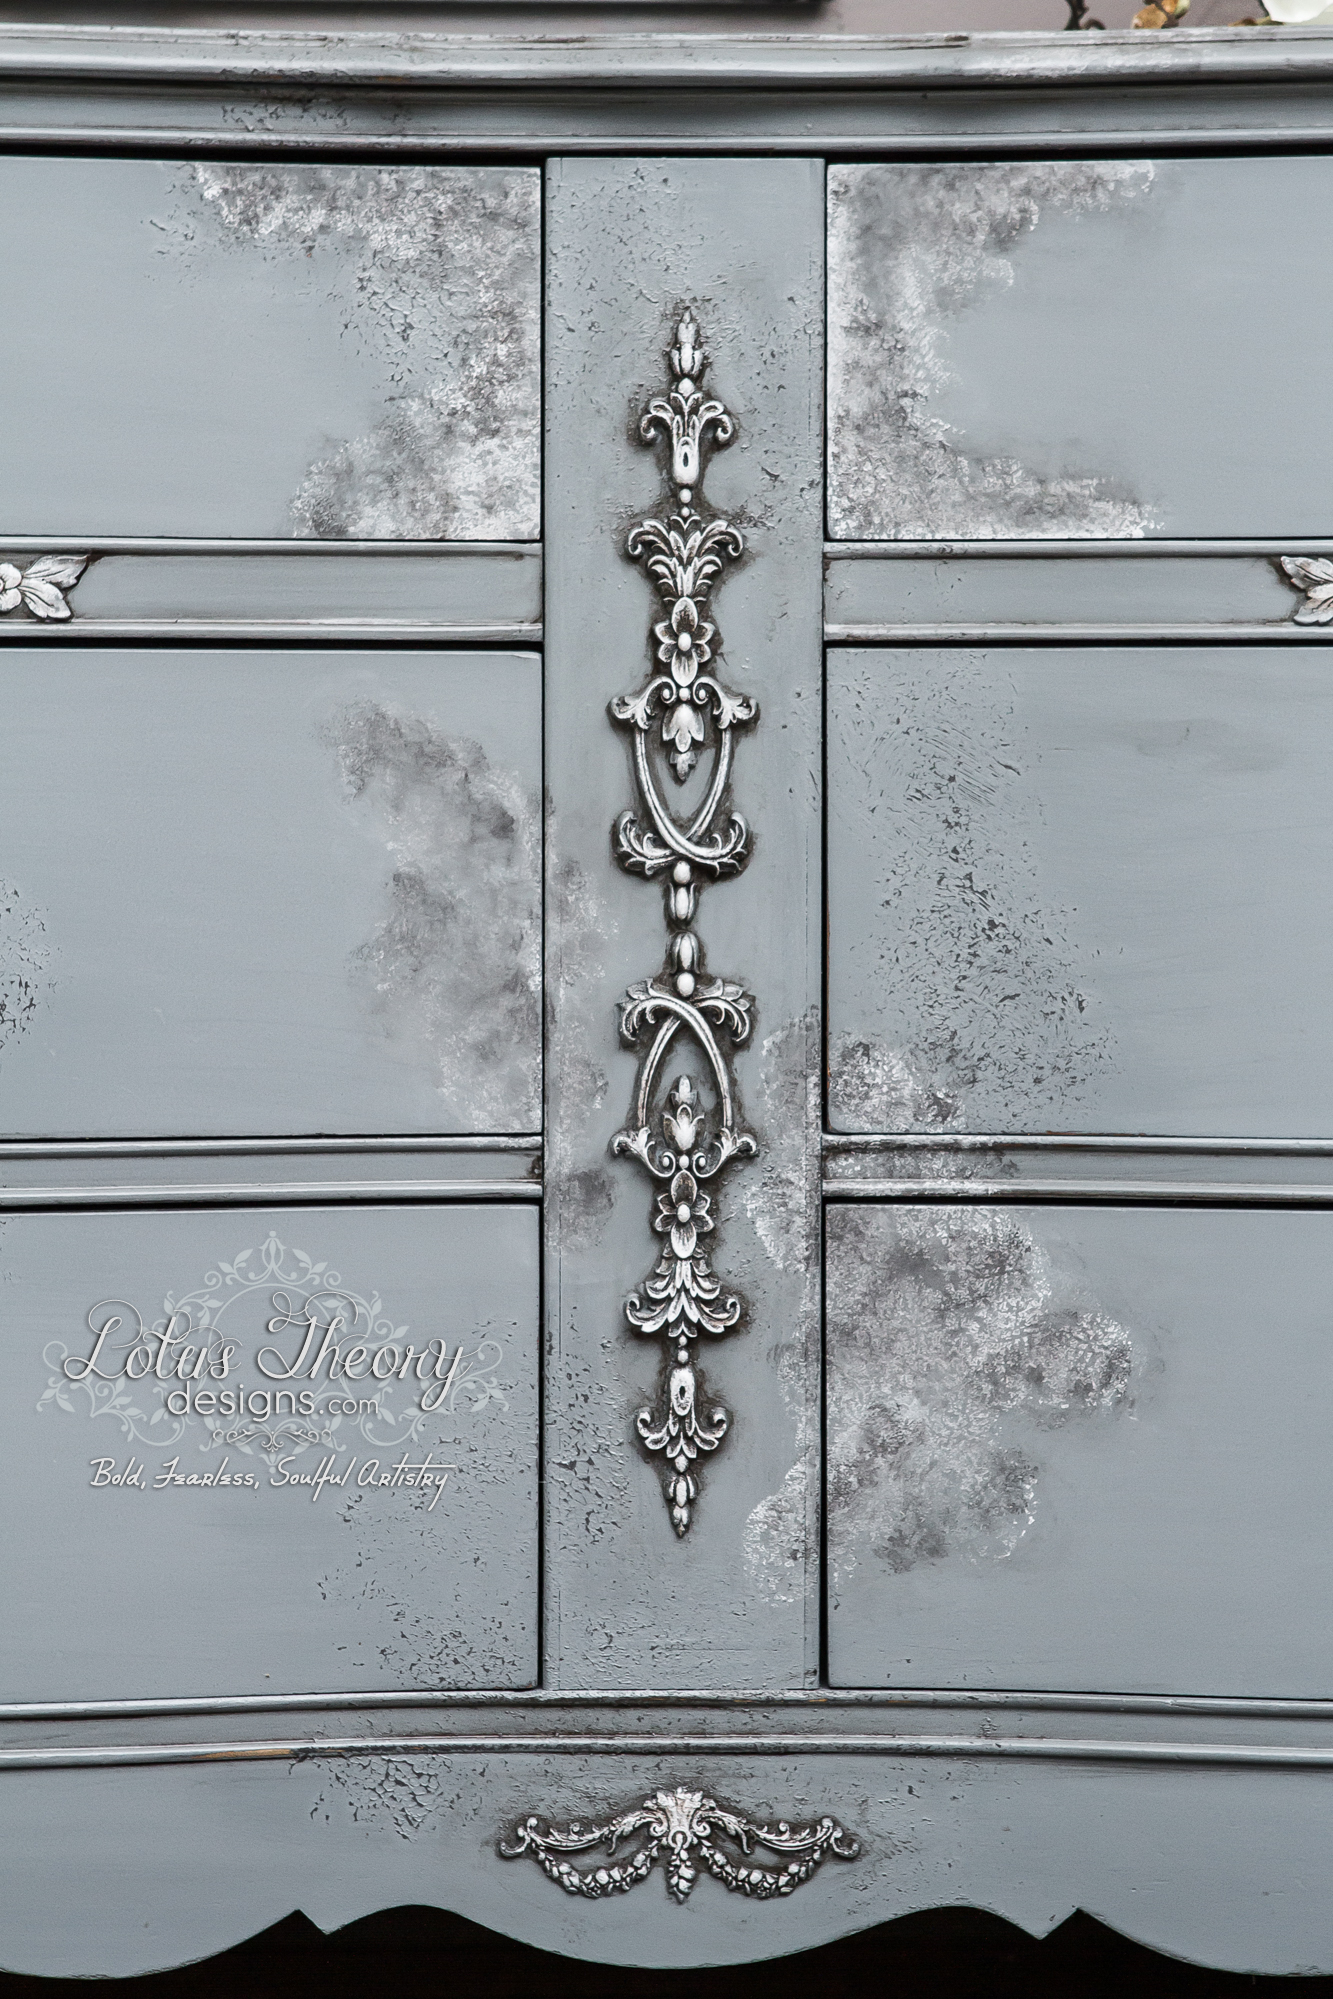
As you can see from the original image, Anastasia was missing some decorative trim and well as the original escutcheon in her center. I have been sitting on a set of appliques for some time and was waiting for the perfect piece to use them on. Using car batteries as weights from my husband’s hoard (Don’t ask. I think it’s an electrician thing.), I glued down my appliques as well an IOD mould I made to the front.
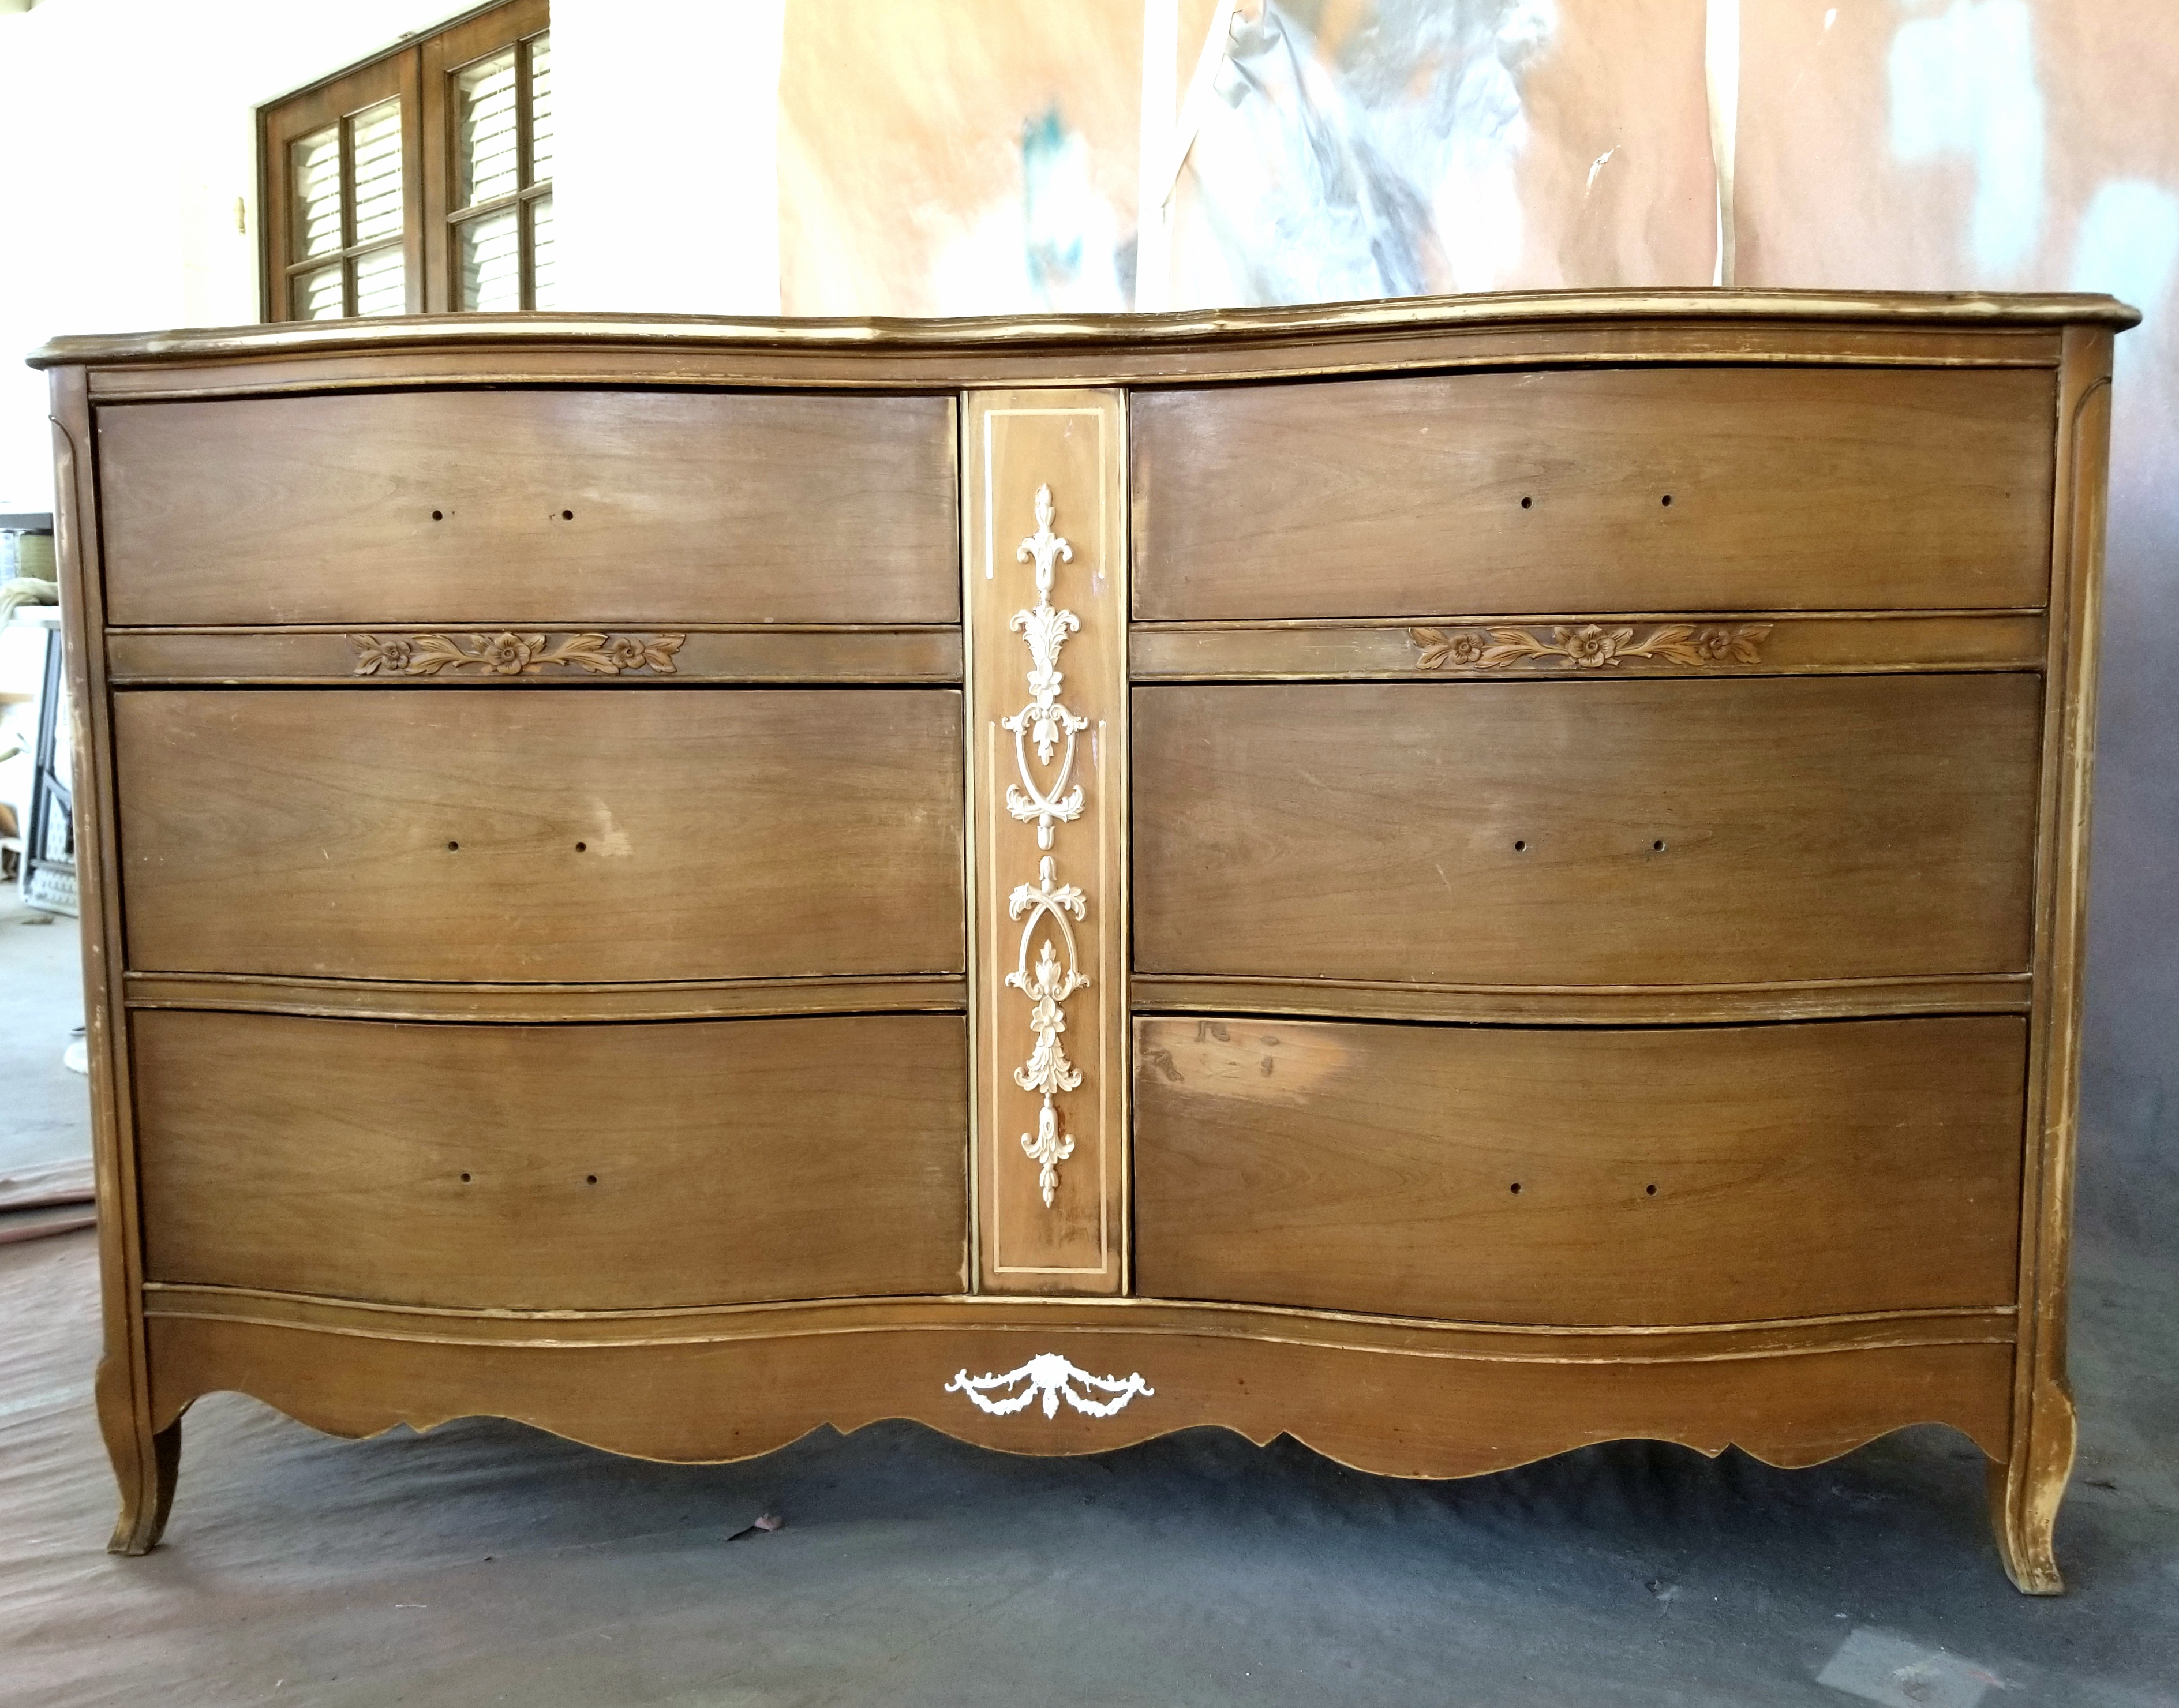
Once the glue set, I stood my girl upright and got this. Eeeek!! I was so excited I could barely contain myself!
I made a decision to use primer on this piece. Though Velvet Finishes paints don’t require it, I sanded down to the raw wood in places and wanted to protect my finished layers from tannins bleeding through, especially since I would be using a lighter color.
I chose to use a primer I had tinted in dark gray for this, knowing I was going to a create layers of texture that when sanded, would blend and not reveal the primer in an undesirable way had I used white or even light gray shade of primer.
I am sure at this point some of you are thinking, “Dark primer under a light color?! Is she nuts?”. And to that I respond – Yes, and well, yes. Trust me.
Spoiler alert: Moody gives AMAZING coverage and only required two coats of paint. Boom! (*drops mic)
I sanded the body again using 220 grit to smooth out my primer coat, and then moved on to my next step. Texture. 😃
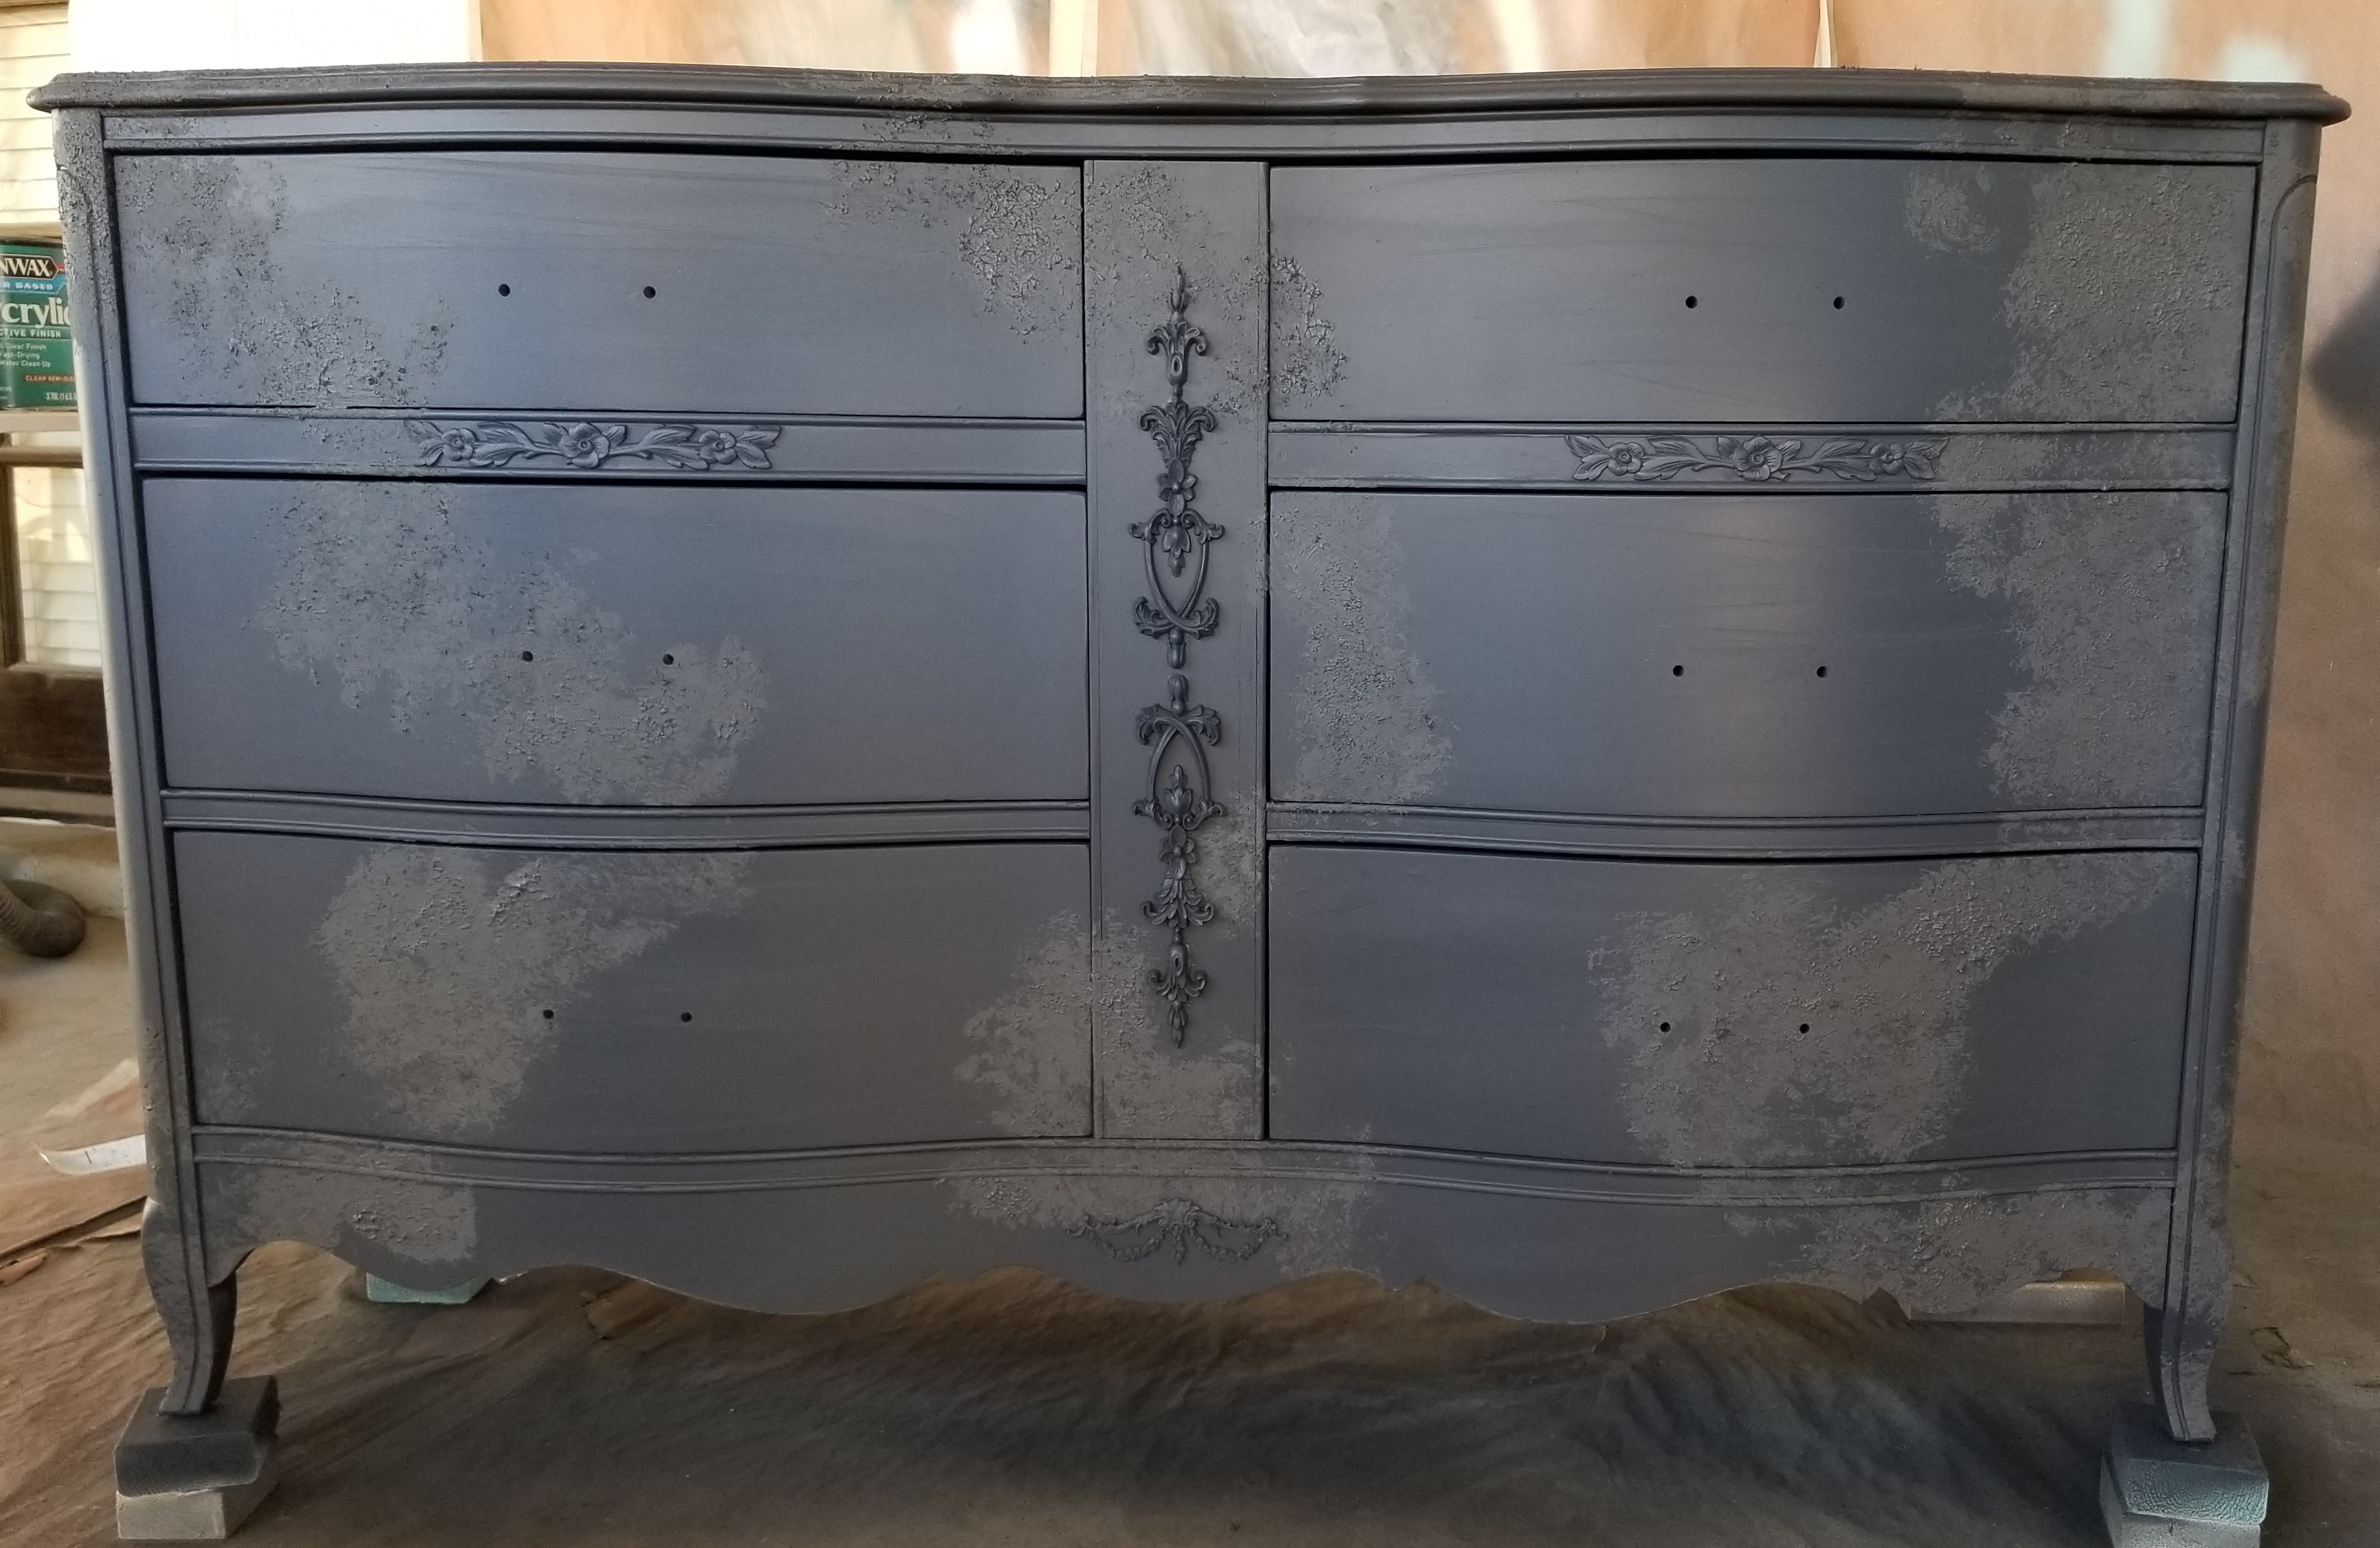
Venetian inspired texture is in vogue right now for furniture, and with Anastasia I had the perfect opportunity to give that technique a whirl. So, I created a compound using Velvet Finishes Timeless and a texture medium. Notice how it’s a very close color match to my dark gray primer.
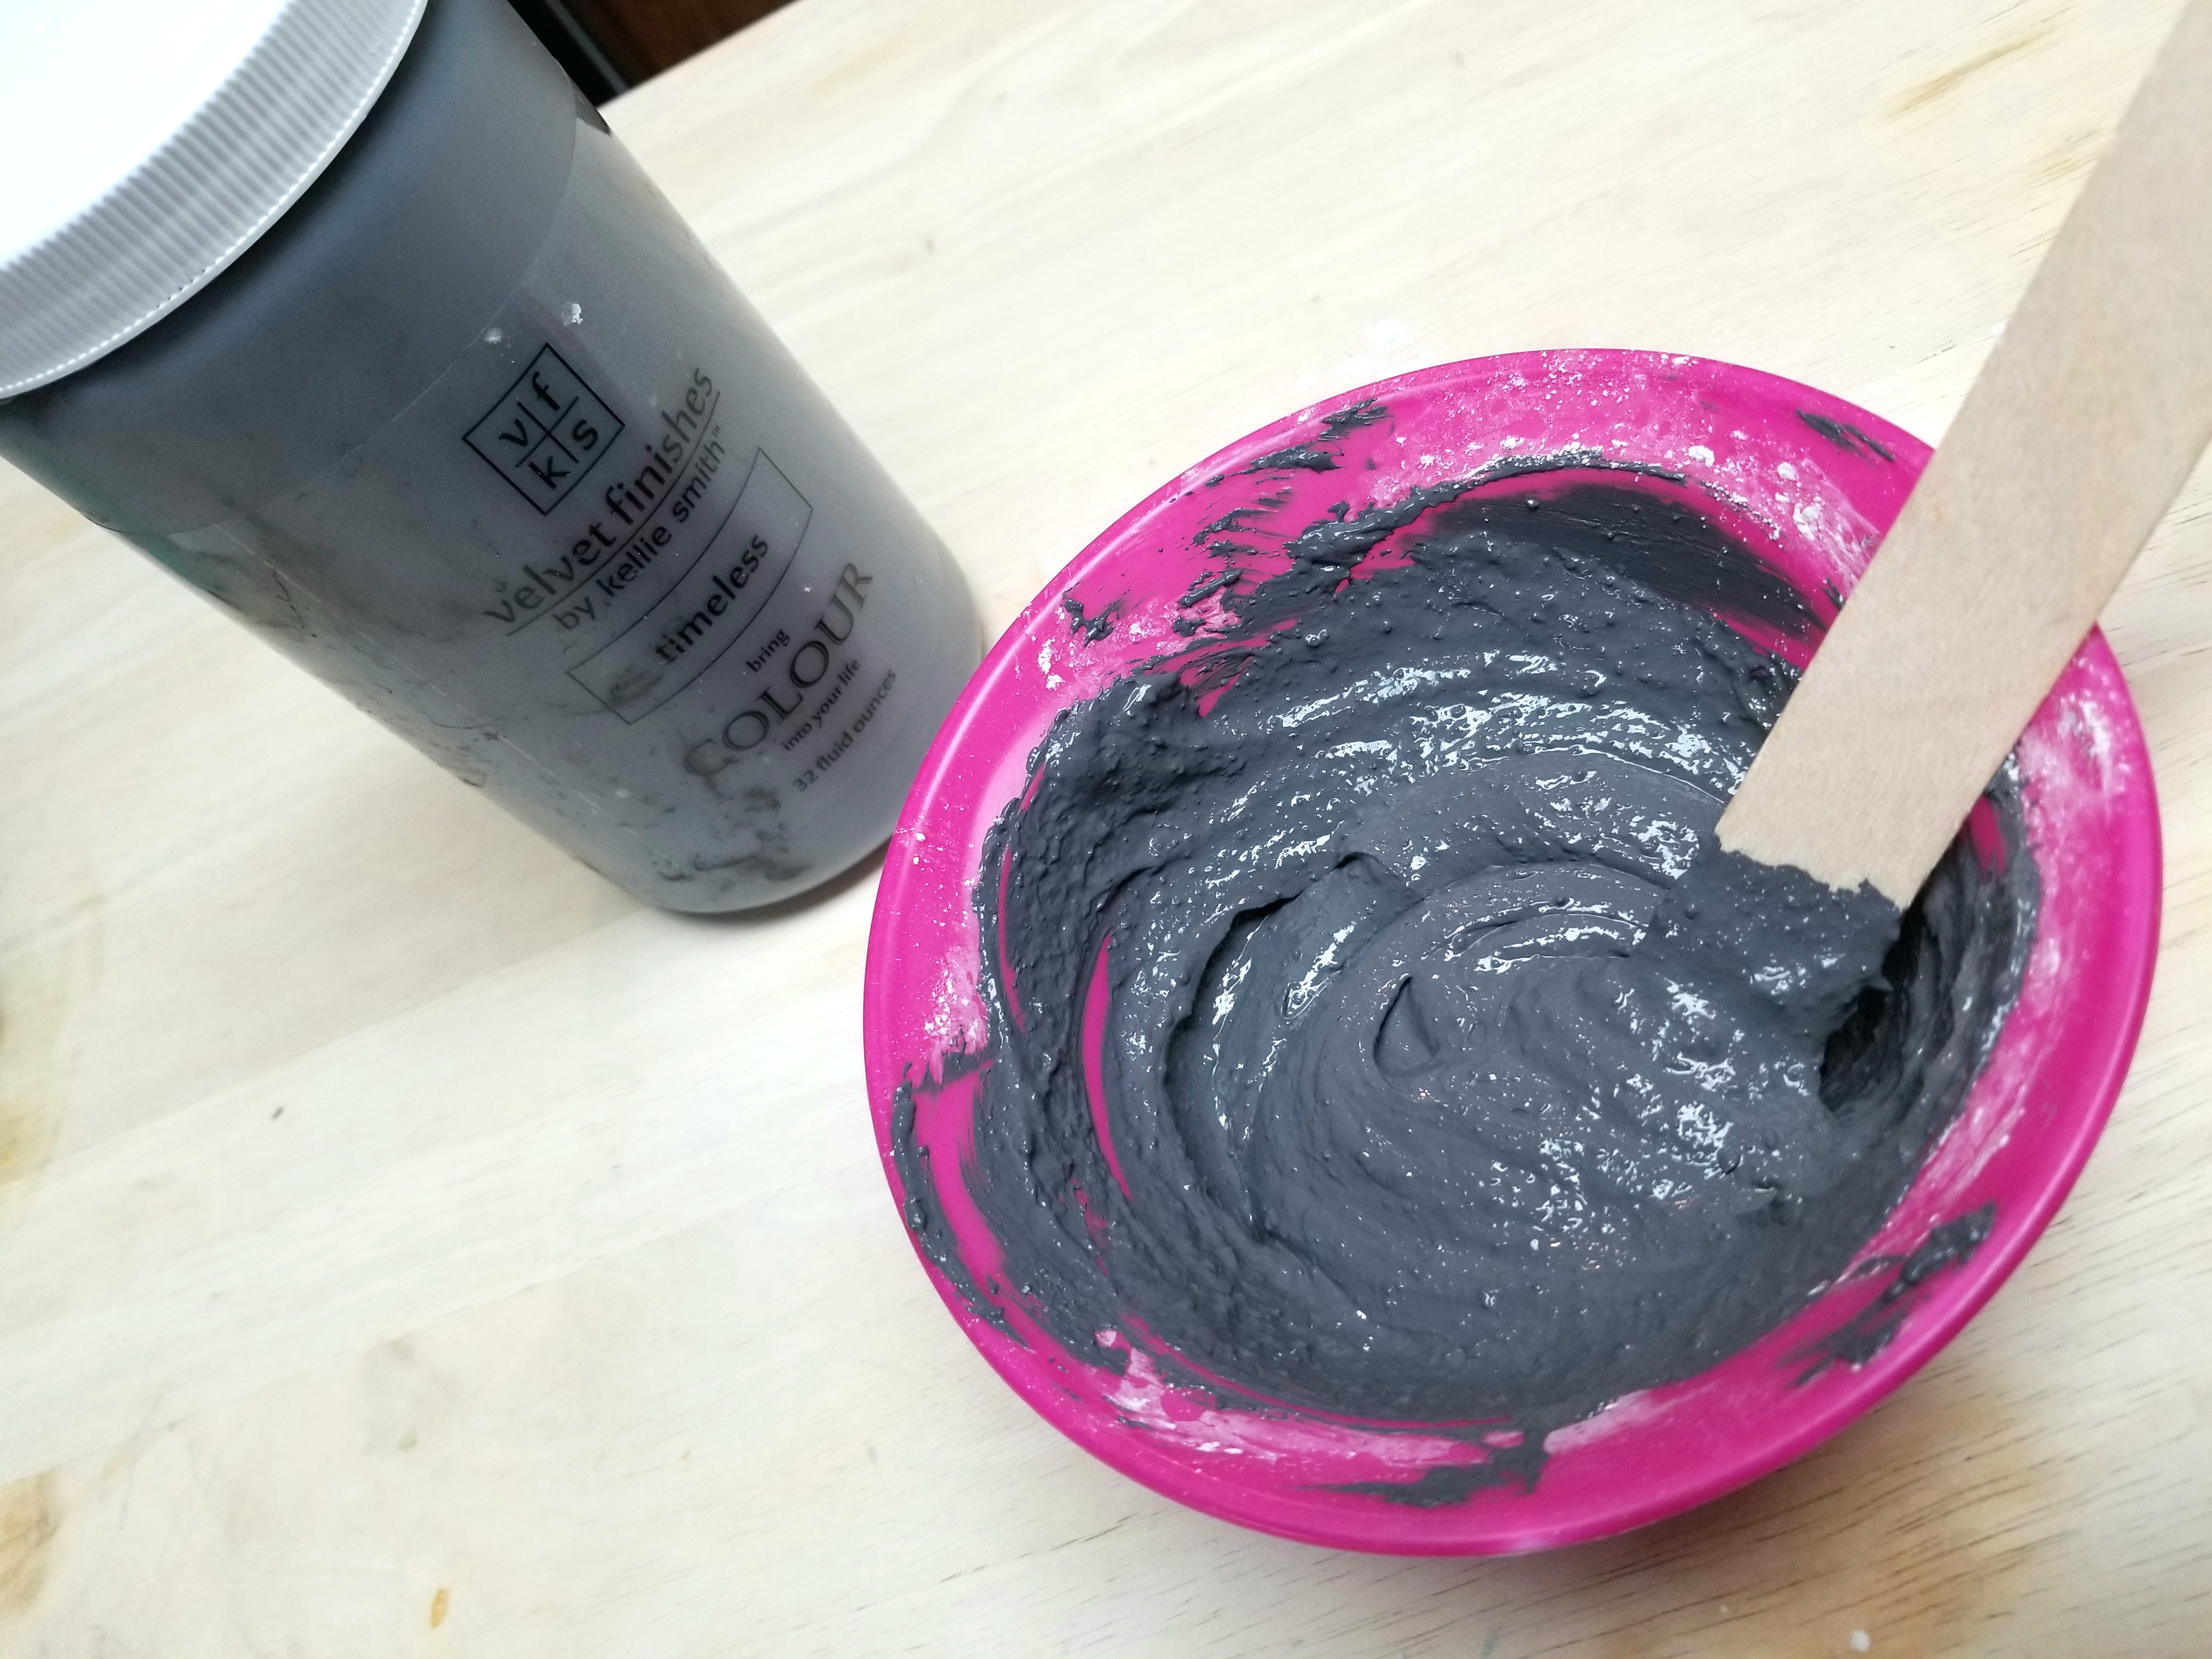
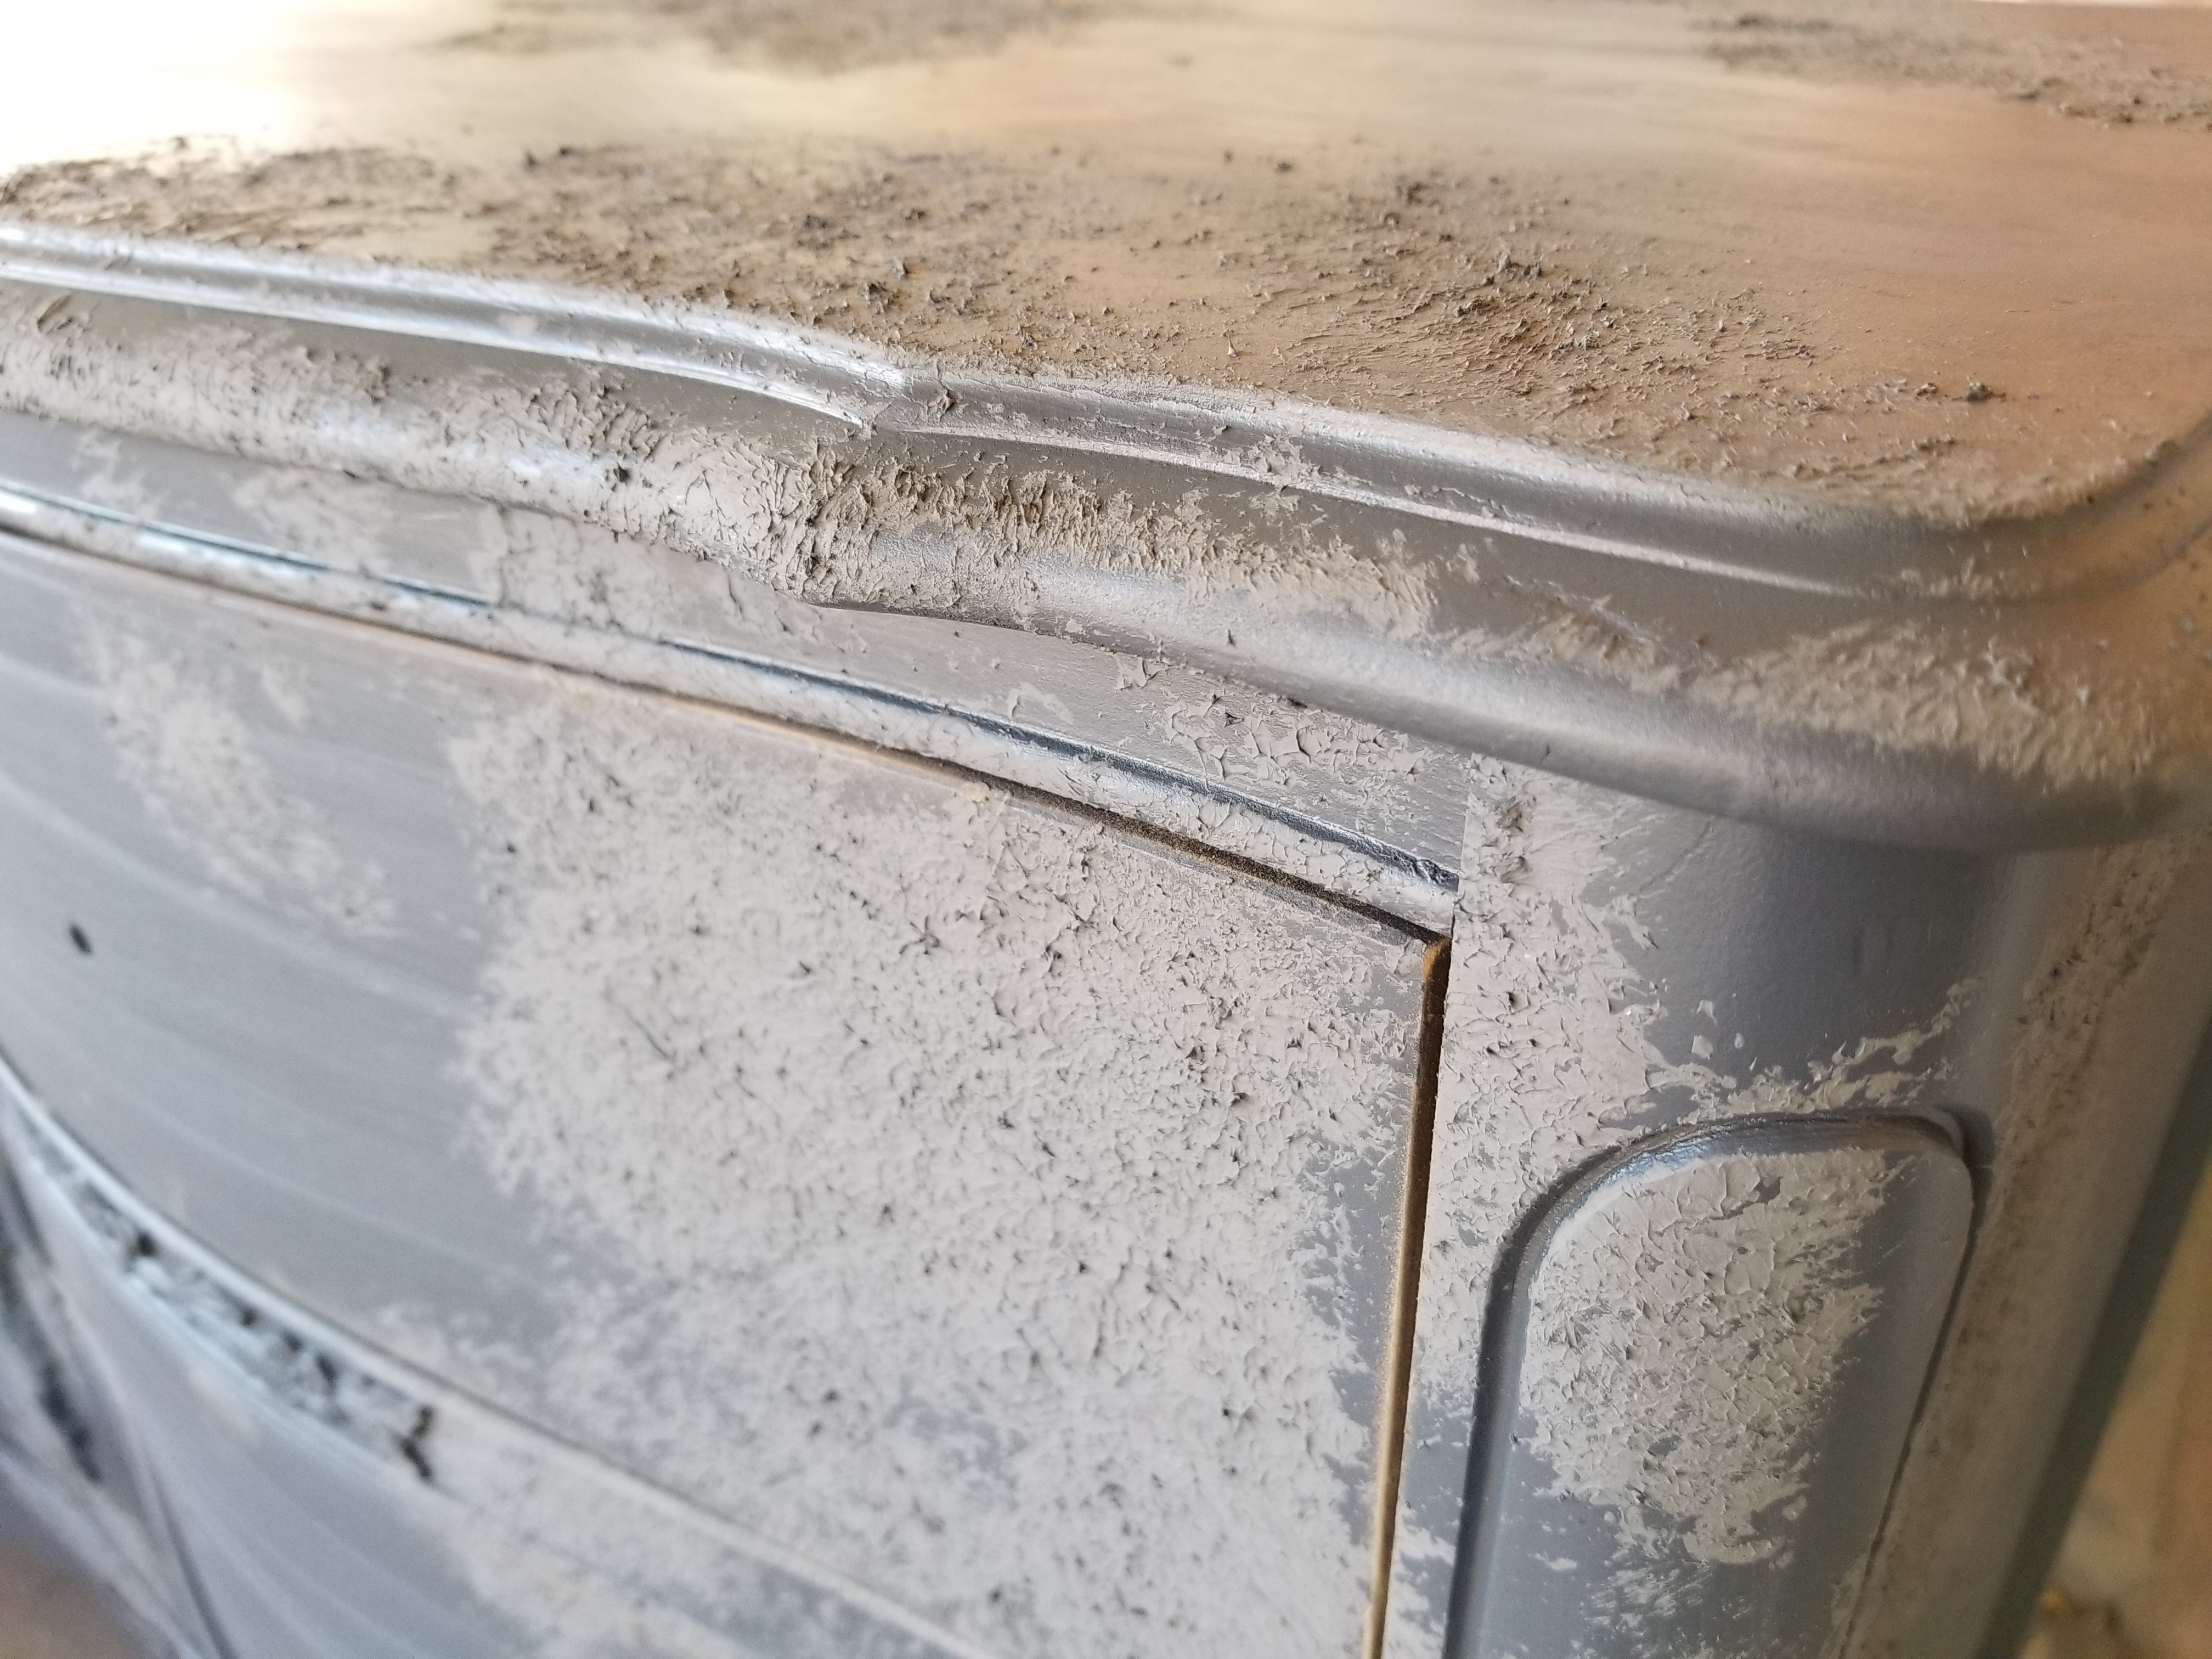
Using a dollar store brush, I dabbed the texture mixture onto the places I wanted it. I applied it aggressively with a substantial amount of mixture on my brush so that I got high peaks for a more dramatic presentation. I made sure to rotate my wrist and brush position so that I didn’t get a uniform look. My goal was perfect imperfection.

NOTE: Dollar store brushes (and chip brushes) are a great way to go for projects like this. Once I was done adding the texture, I simply threw the brush away. As you can see, this brush was not recovering from this level of abuse!
Next, I sprayed on two coats of Moody. Having worked with this color before, I was super excited to be using it again, as it’s the perfect shade of blue with a gray undertone. It’s definitely one of my favorite colours from the Velvet Finishes line!
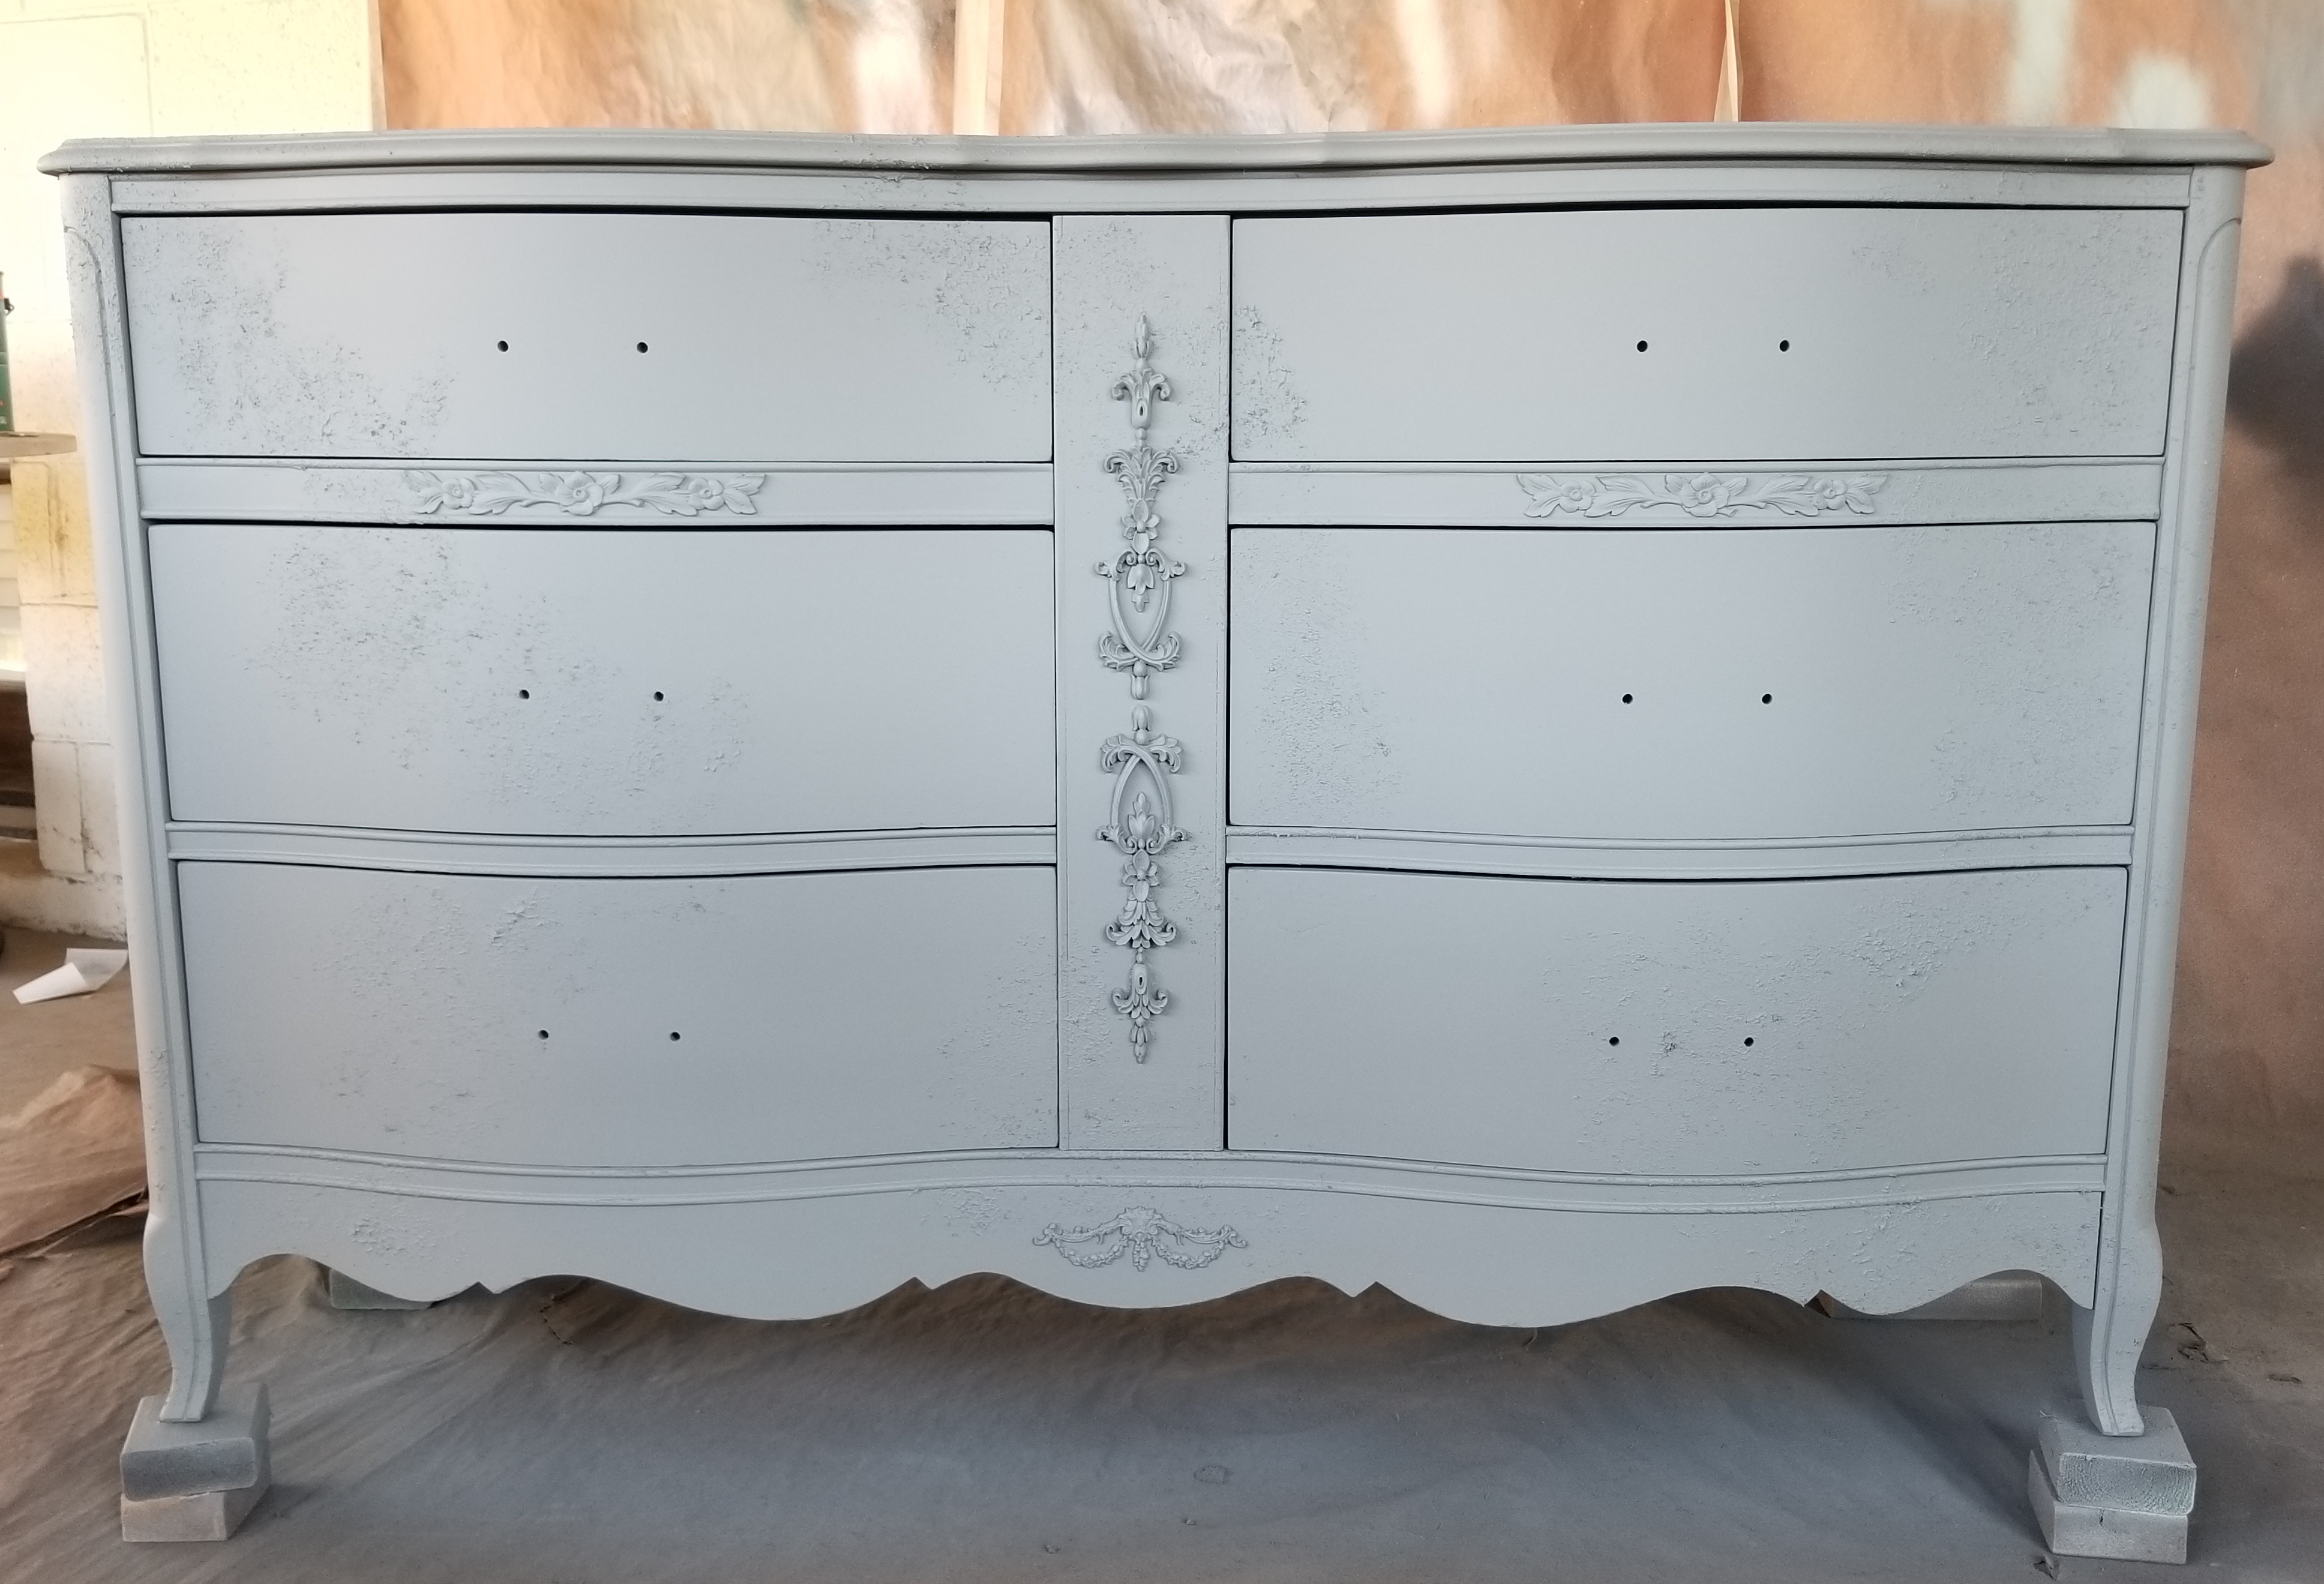
Two coats was all I needed to get full coverage of my piece! Easy peasy!
Moving on, I sanded the textured areas using 60 grit at first to level down the peaks, being careful not to go over the smooth areas, lest I severely scratch the paint. After the peaks were leveled off, I used 220 grit over the piece in entirety to once again smooth it out. This paint line sands beautifully to give your piece a glass-like finish. Yes!
After my texture was exposed and no longer coarse and choppy, I worked on the appliques by way of highlighting them using Velvet Finishes Minimalistic. The following video demonstrates both the process as well as the results of the sanded down texture.
Now that I have highlighted the appliques and filigree on this dresser, it was time to move on to creating what I call a “stone wash” effect on this piece. Here’s the how-to!
Even though the video only shows the process along the drawers, upon finishing I realized this effect needed to be all over! So, I continued on throughout the entire body.
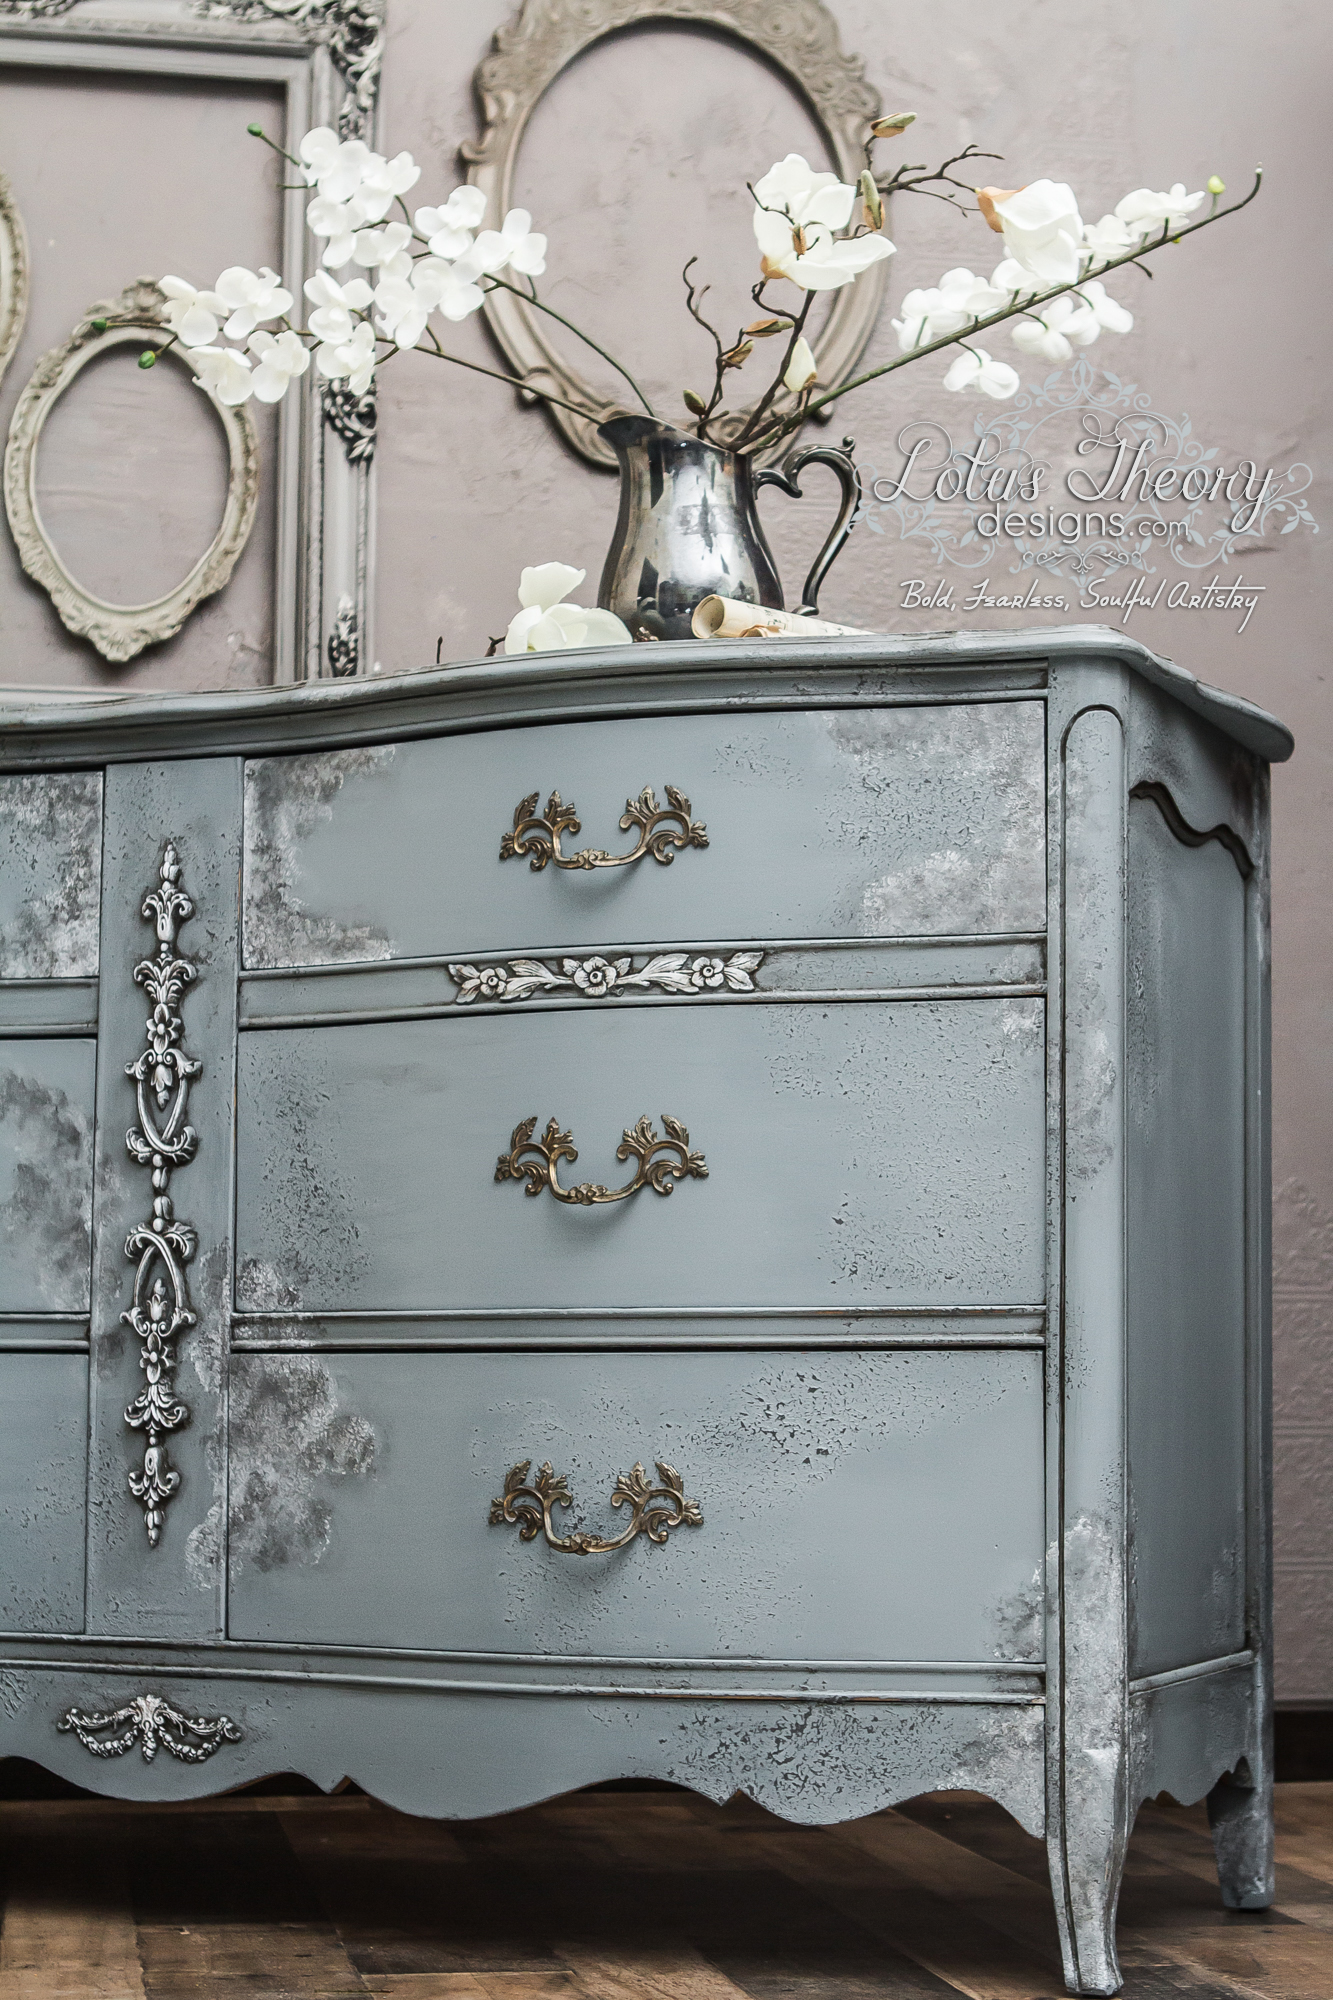
Do you see what I see? If not, I’ll give you a hint: DARK GLAZE! Most everything that makes its way in to my atelier gets a glaze treatment. Velvet Finishes Dark Glaze is a fabulous way to make those highlighted details pop even more with intense contrast!
Sometimes I do an overall execution, but this time I opted for a more strategic approach, focusing only on the details and edges of the piece.
I have found many people to be intimidated by glaze. Allow me to show you just how easy it is using VF’s line!
I have tried other glazes, and VF’s is by far my favorite to work with. I find it to be easier to apply and doesn’t dry too quickly so that I can manipulate it with little effort. It is worth noting that you want to work in small sections when using glaze.
We are almost done! We just need to seal the piece.
Using Velvet Finishes Protect, I sealed the piece using foam brush. Unfortunately, it was night when I did this and don’t have a quality video to show you. But fear not! Here are two different ways to apply Protect to your finished pieces.
In the first, I will show you how I applied the polycrylic to a box I worked on using the same colors as my piece (two birds, one stone). I added a spritz pump to the bottle for simplicity. In the second, I demonstrate the pour-and-spread technique on a piece I did a few months back. Your choice! Both ways are effective and yield beautiful results!
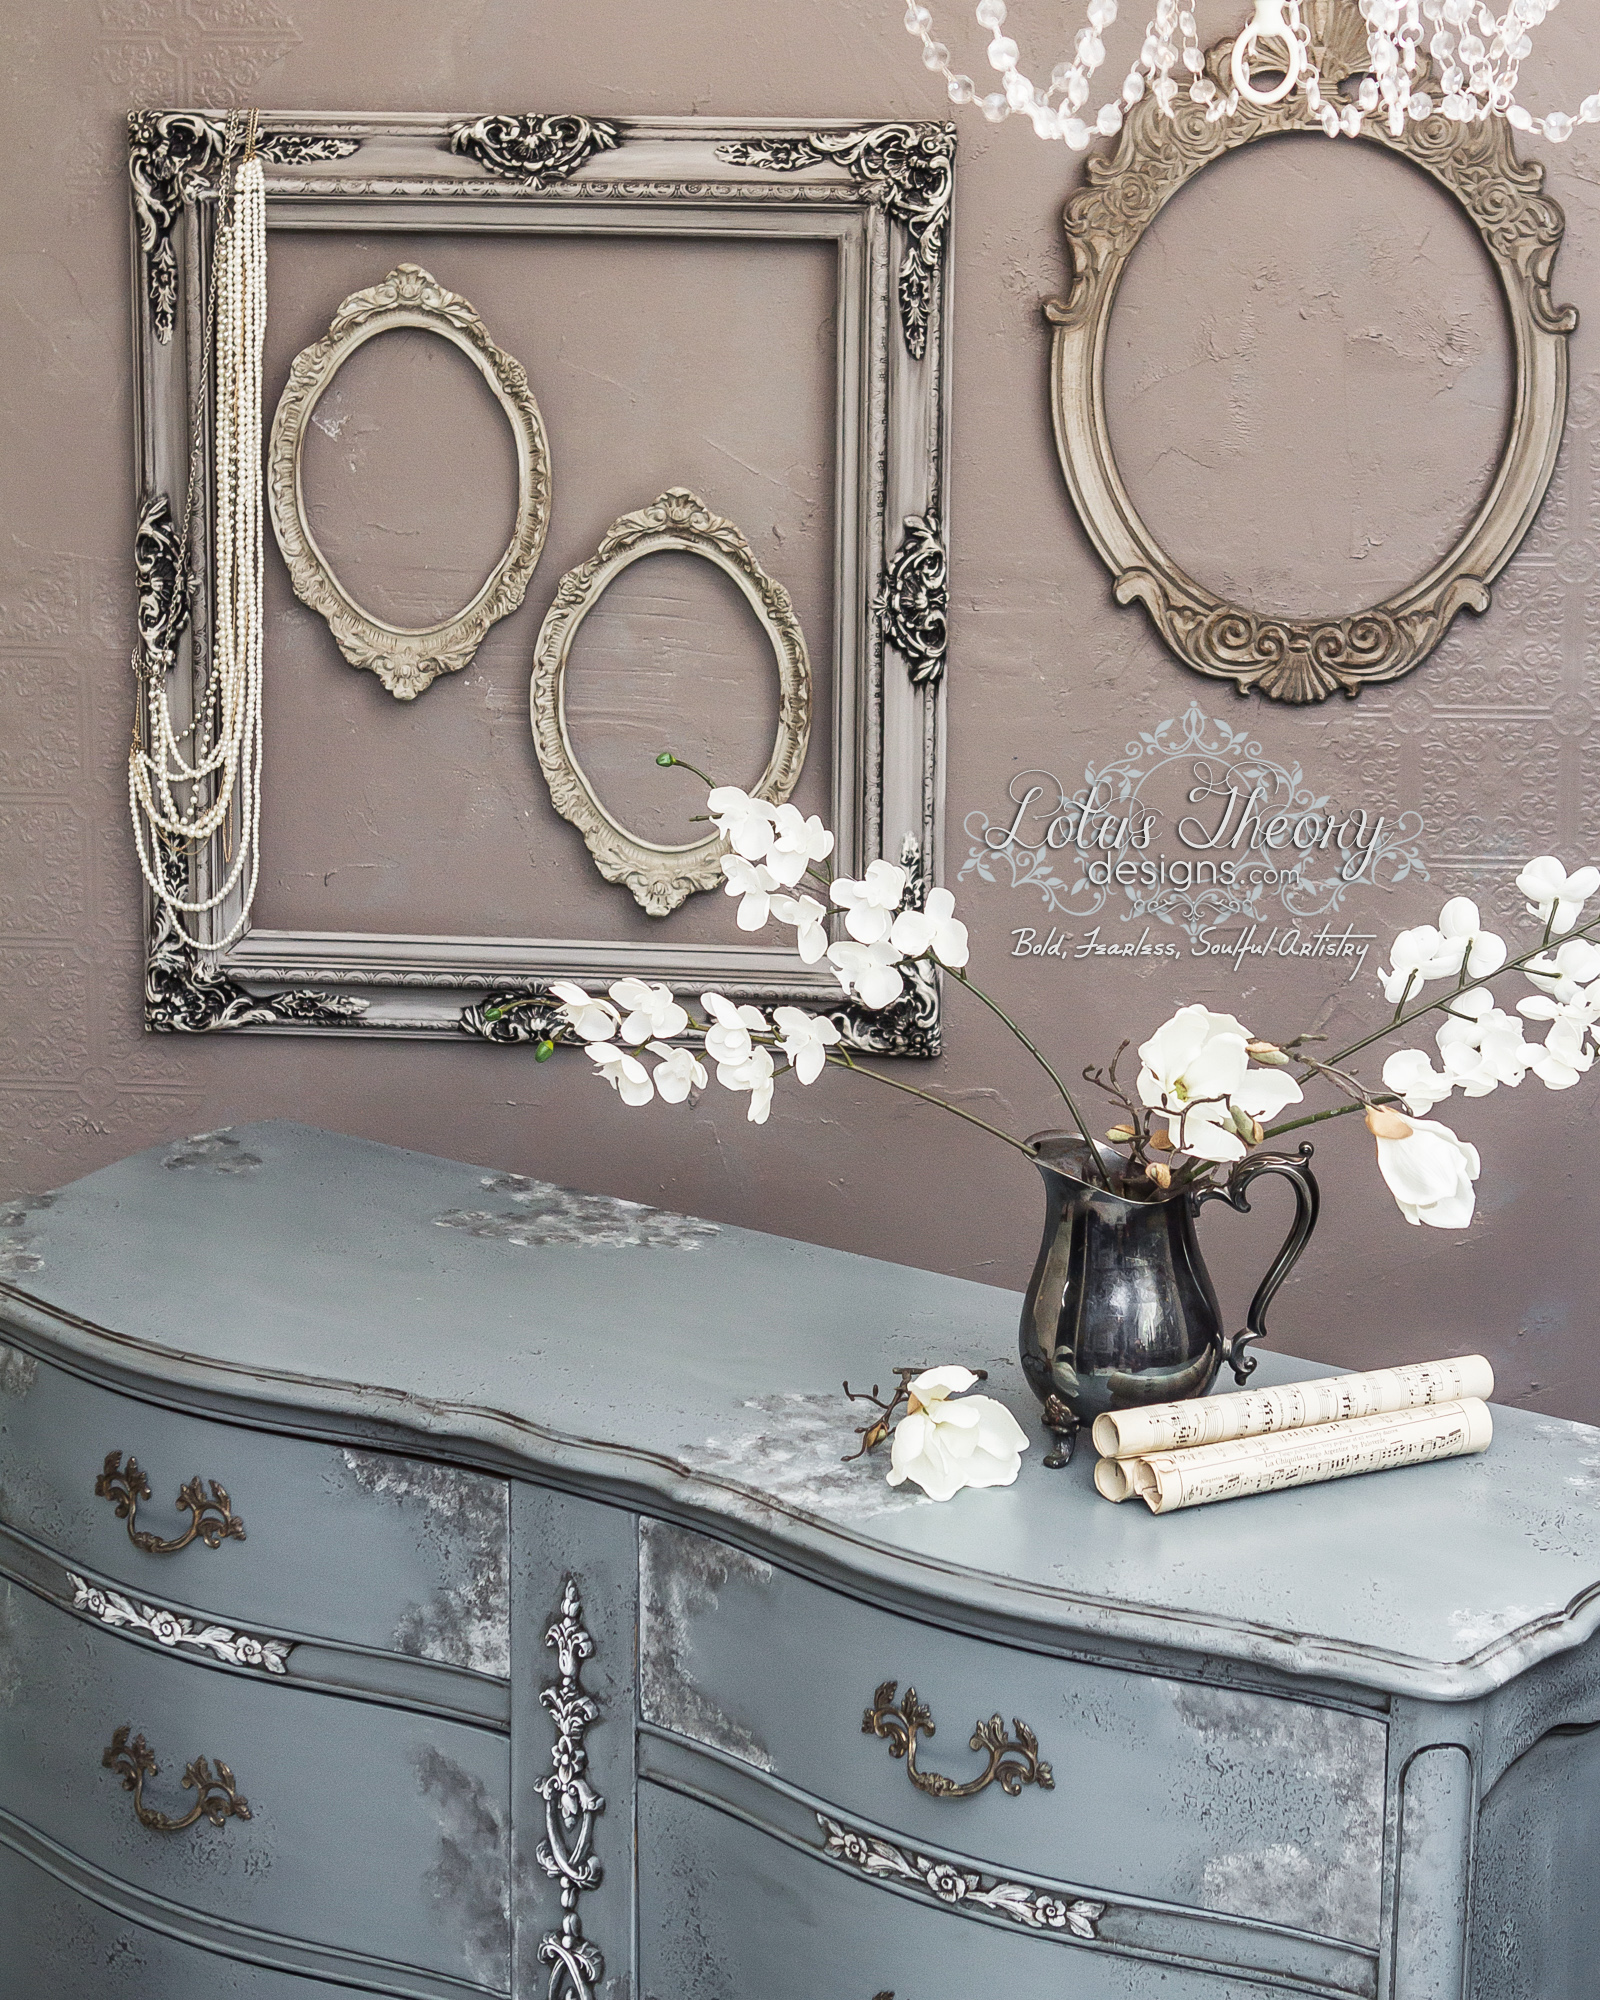
And just like that, a star is born! The entire process, though time consuming, was easy and most importantly… FUN! I couldn’t be happier with the finished results.
Hope you enjoyed this tutorial! Until next time – Bianca
Well, have mercy, are you feeling inspired?
Bianca knocks my socks off every time she gets her hands on Velvet Finishes!
This month is also your lucky month, Moody is our September Colour of the Month.
Use the following code at checkout to receive 20% savings on our 32oz Moody containers: SEP18COM
Take a look around our website, here and let me know if you have any questions.
Happy Updating!